To preserve the flawless look of your walls, mastering the art of paint touch-ups is a valuable skill. Dealing with slight scuffs, minor scratches, or normal wear and tear can greatly improve how walls look.
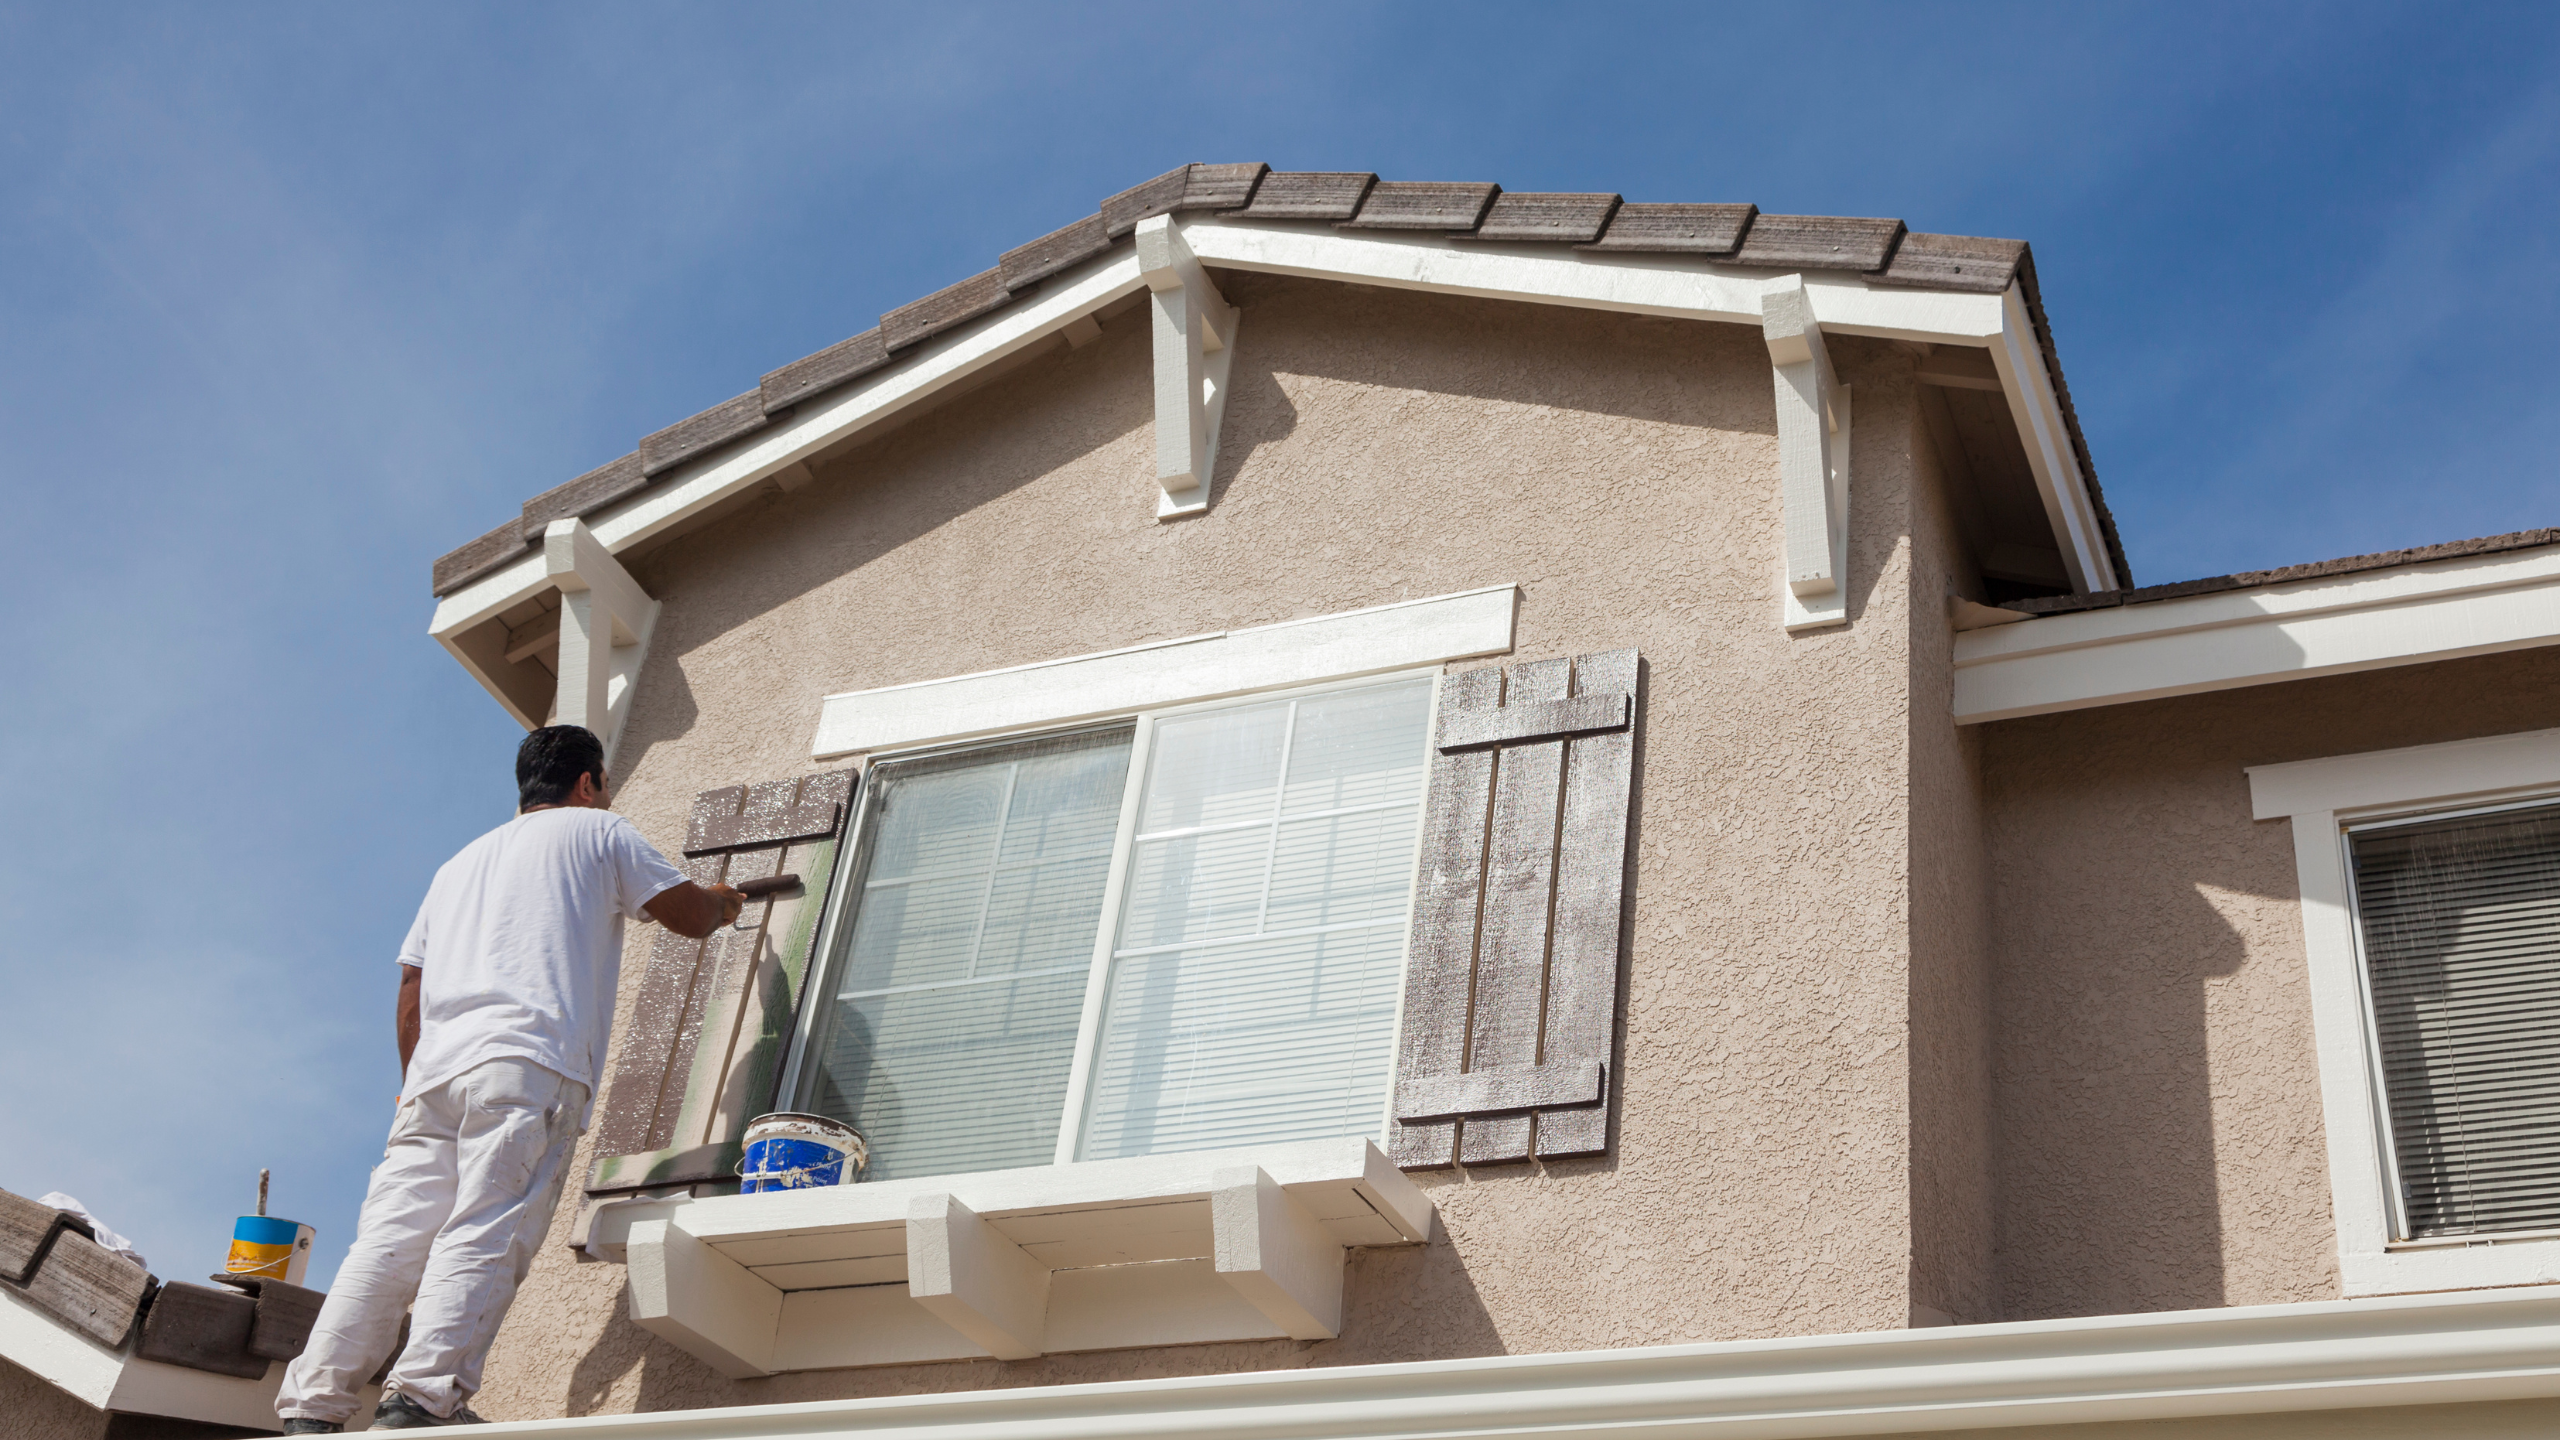
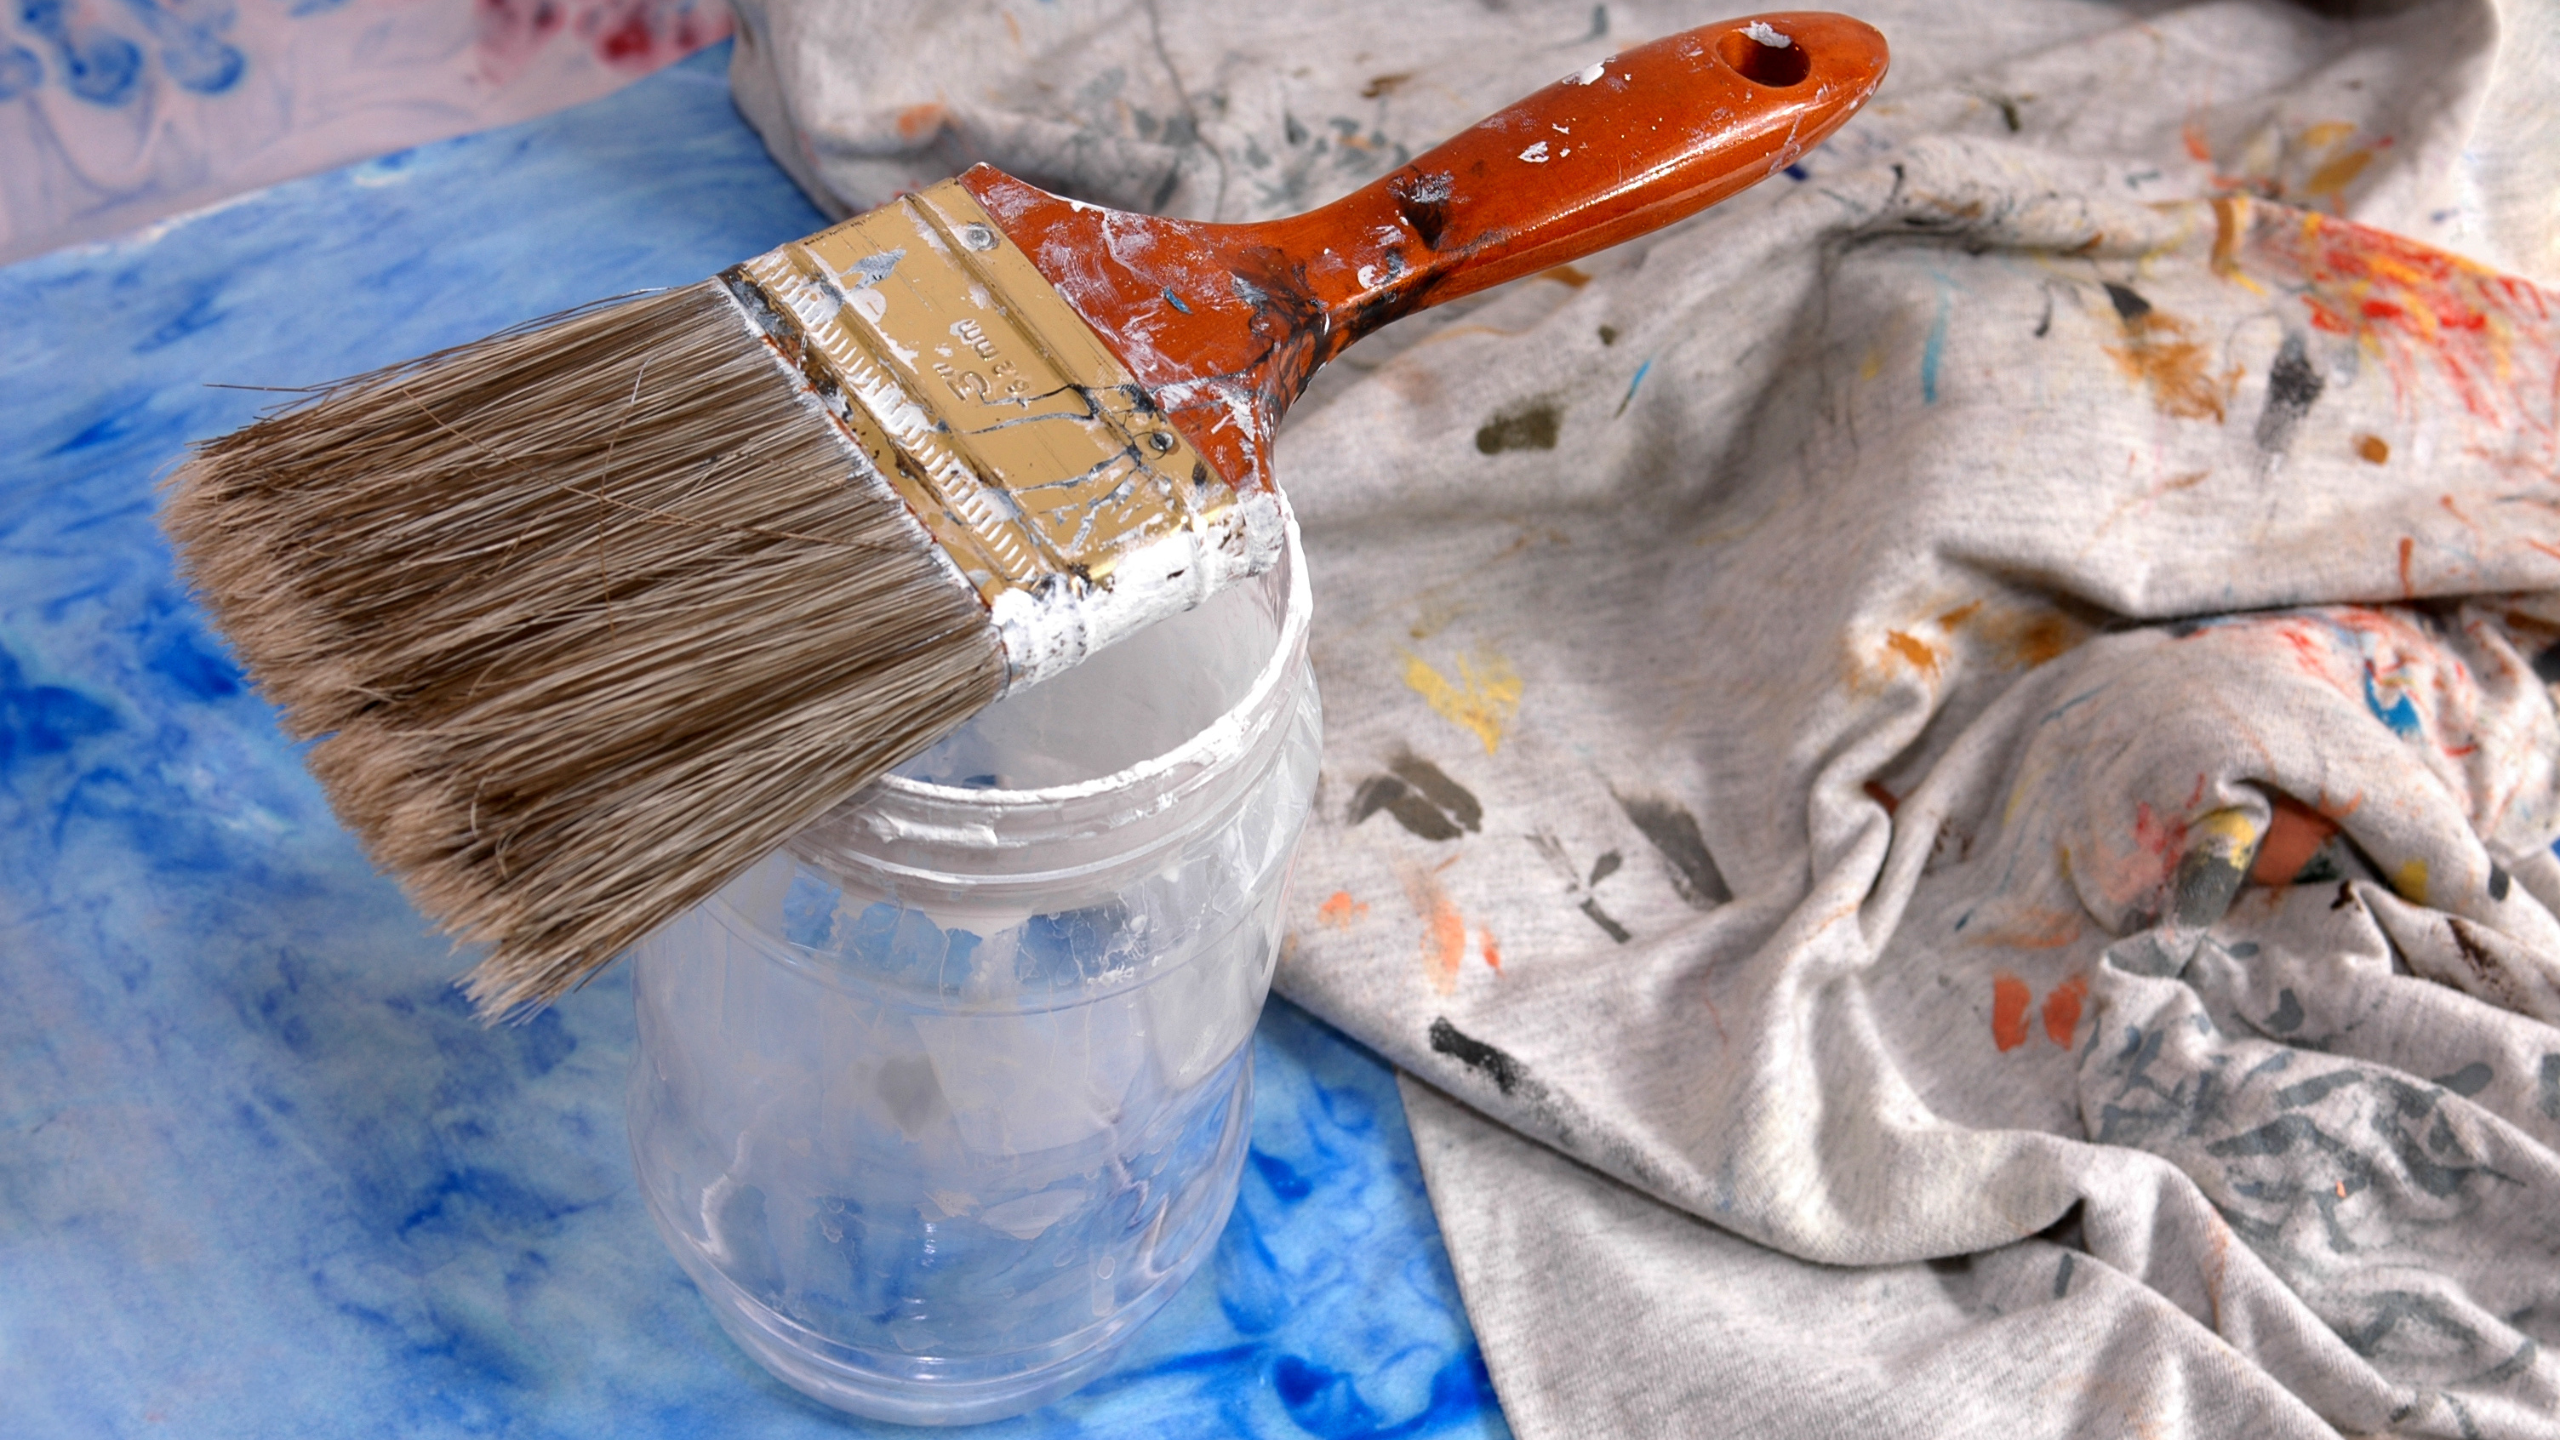
What to Consider: Before delving into the process, it’s crucial to understand what you’ll need for a successful touch-up. Begin by gathering the original paint on the walls, ensuring it’s the same color and finish. If you still need the exact paint, visit your local hardware store for a color match. Additionally, stock up on painter’s tape, a putty knife, sandpaper, and a drop cloth to protect your floors. Renew, refresh, and revitalize your home with the expertise of CCT Apex House Painting. Your trusted partner in transforming spaces.
How to Touch Up Paint Like a Pro
- Prepare the Surface: Begin by cleaning the designated touch-up area. Eliminate dirt, dust, or grime with a mild detergent and water. Verify that the surface is thoroughly dry before proceeding.
- Sand the Surface: Gently sand the damaged area using fine-grit sandpaper. This step guarantees a smooth surface for the new paint to bond with. Remove any sanding dust by wiping it away with a clean, damp cloth.
- Apply Painter’s Tape: To safeguard nearby surfaces and achieve precise lines, employ painter’s tape to delineate the area you’re refinishing. This is particularly crucial when working near trim or on walls with multiple colors.
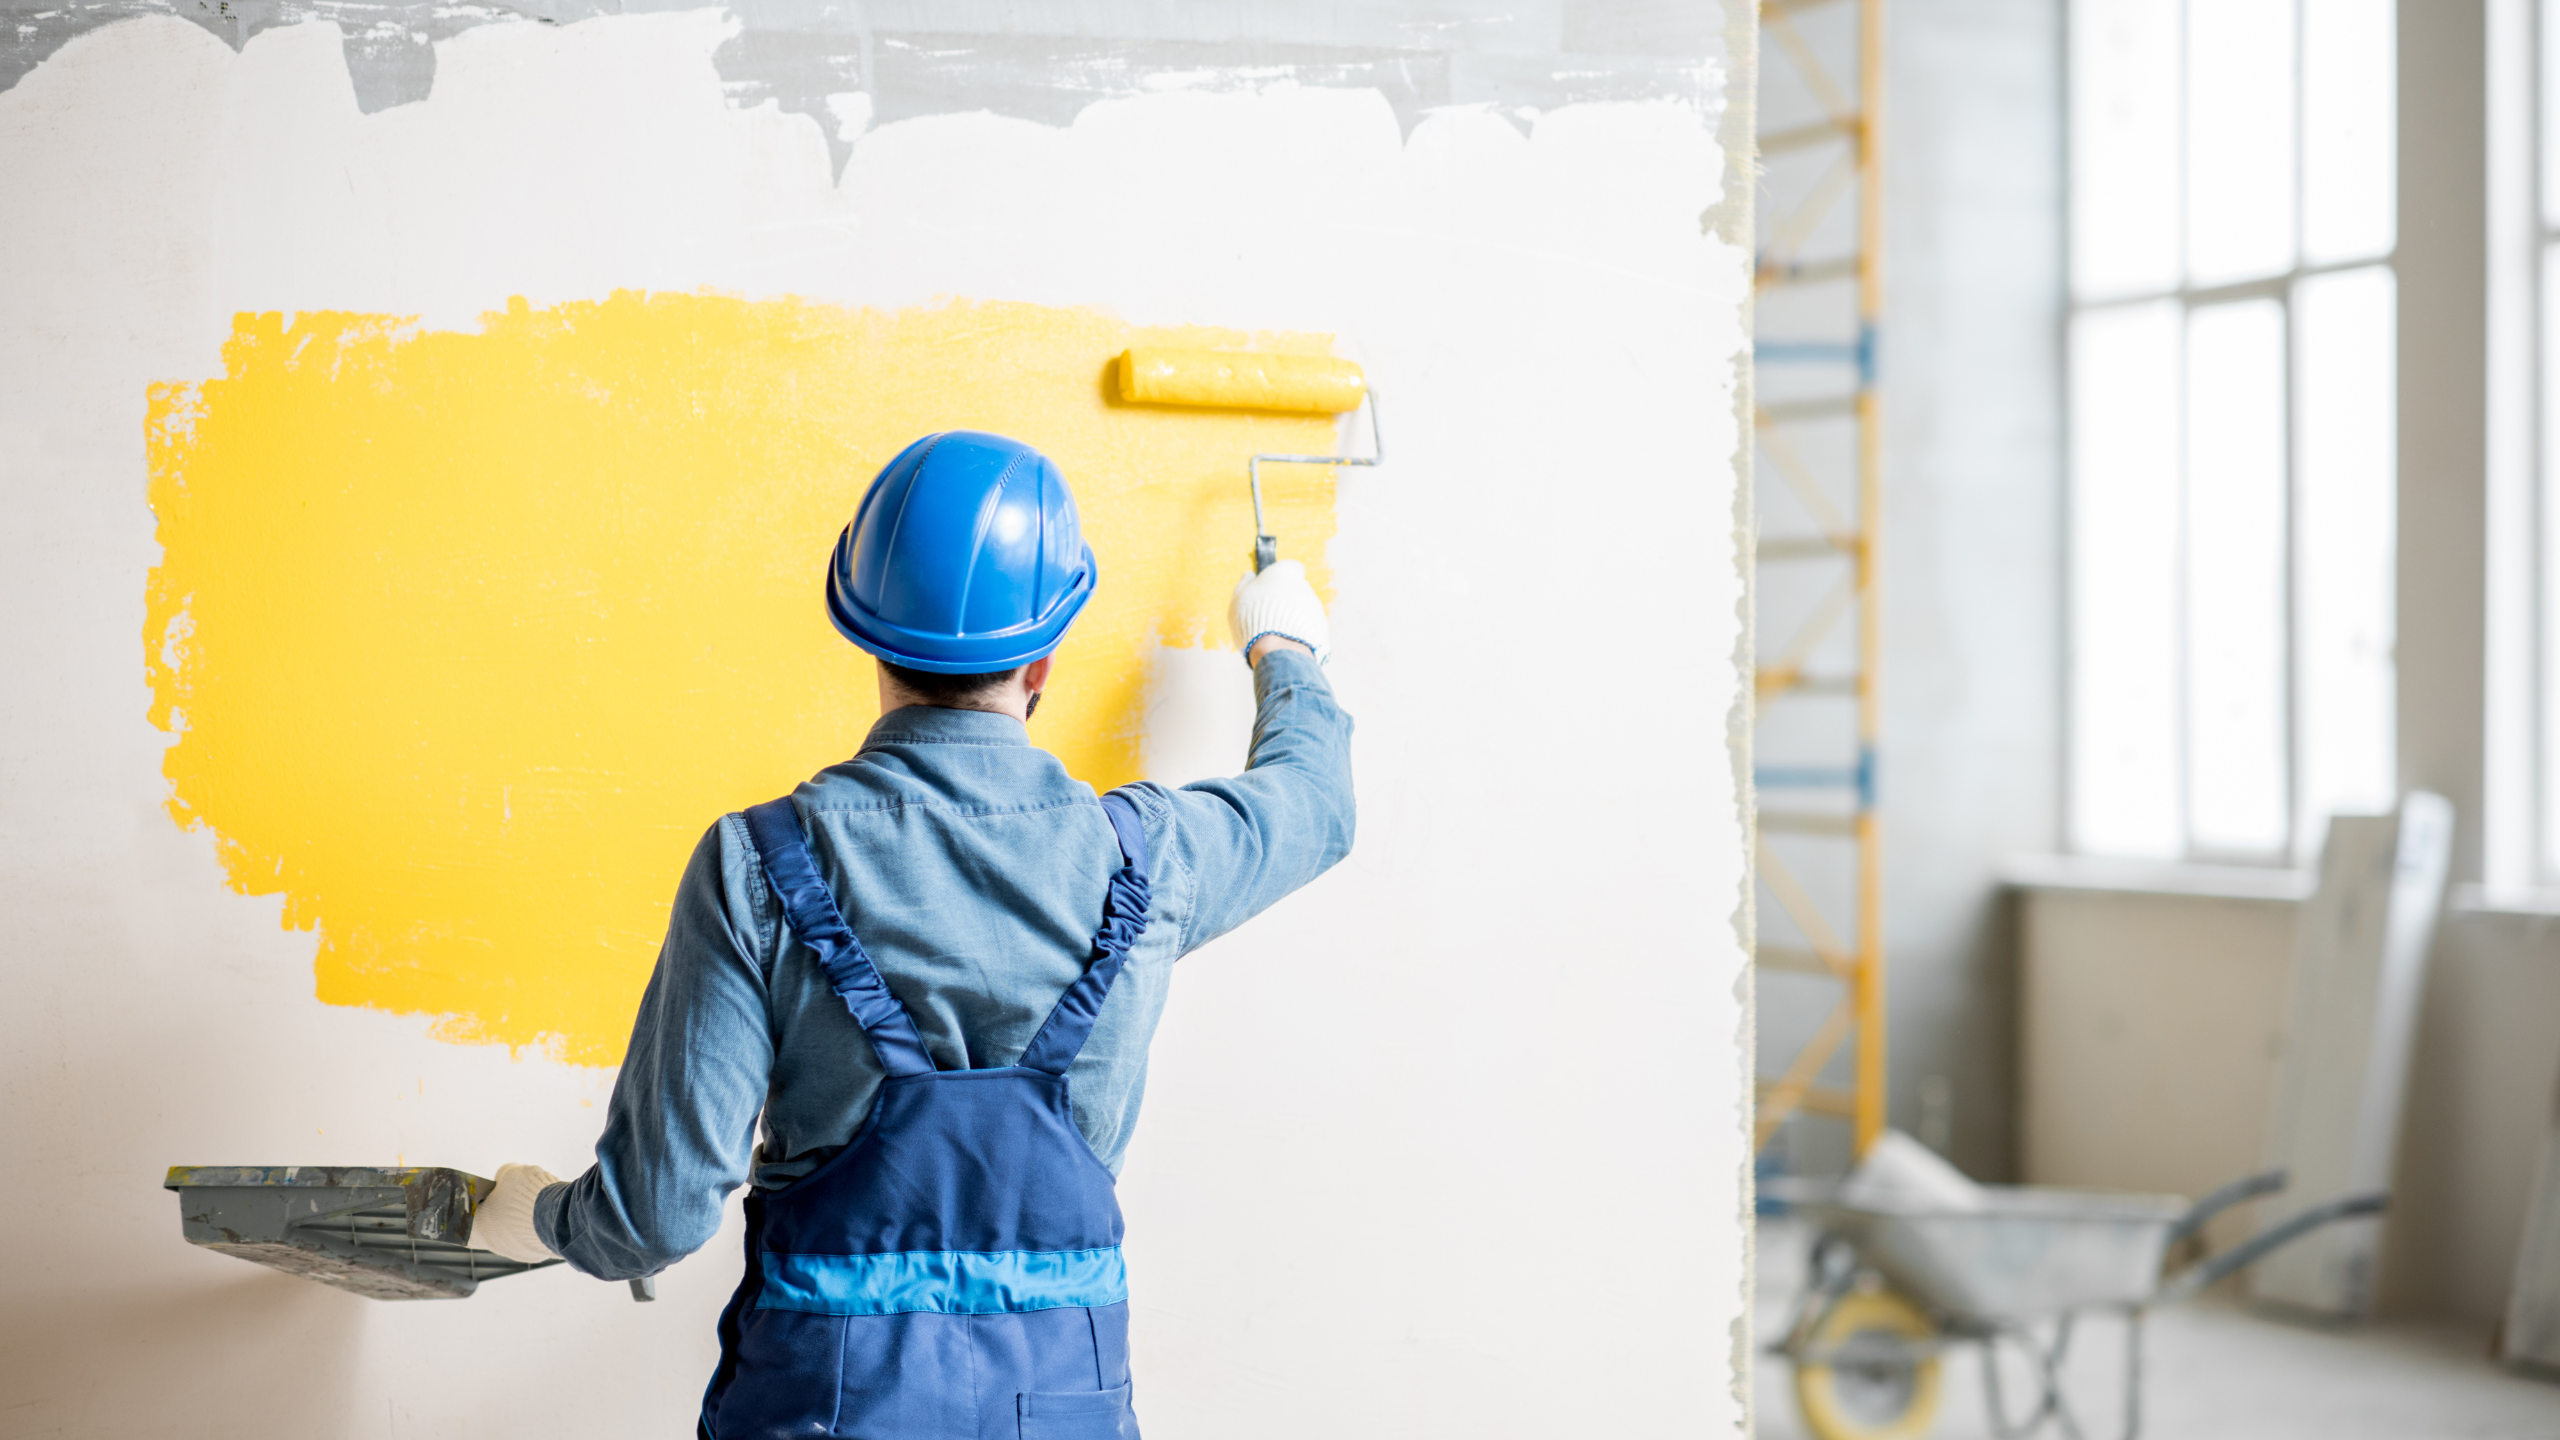
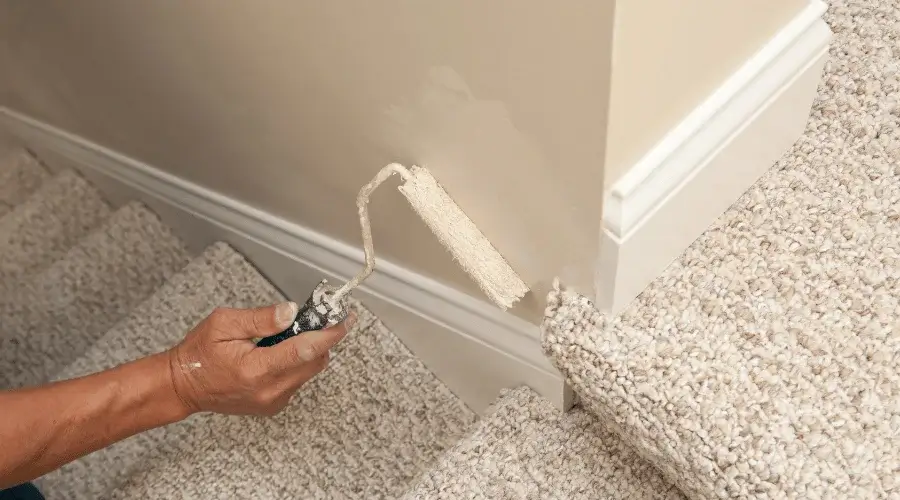
- Use a Brush or Roller: The choice between a brush and a roller depends on the size of the damaged area. For small nicks and scratches, a high-quality brush is your best bet. For larger areas, such as scuffs on a wall, opt for a small roller to ensure an even application.
- Apply Multiple Layers: While a single coat may be adequate for minor touch-ups, more significant damage may necessitate multiple. Apply each layer and ensure thorough drying before proceeding with the next one. Adhere to the recommended drying time stated on the paint can for each layer before advancing to the next.
- How Many Layers: Determining the number of layers depends on the severity of the damage. A single layer may suffice for minor touch-ups, but two to three layers might be necessary for larger areas or deeper scratches. Exercise patience and let each layer dry completely before moving on to the next step Thoroughly before assessing if additional coats are needed.
- Roller vs. Brush: Choosing between a roller and a brush boils down to the size of the area you’re working on. Brushes are precise and ideal for small blemishes, while rollers cover larger surfaces more efficiently. Keep both tools in your arsenal for a versatile approach to touch-ups.
Mastering the art of touching up paint is a valuable skill that can keep your walls looking fresh and flawless. You can achieve professional results by understanding what to consider, following the step-by-step process, and choosing the right tools. So, the next time your walls need a little TLC, embrace the opportunity to paint like a pro and enjoy the revitalized beauty of your living space.