
Whether improving your space or working on a home project, successful painting starts by preparing the walls. This article tells you what to do, how, and why preparing a space before painting is crucial for making a lasting masterpiece.
Bring your vision to life with the skilled hands of CCT Apex House Painting. Your journey to a beautifully painted home starts here.
Step-by-Step Guide to Prepping a Space for Painting
- Sand the Walls: After cleaning and repairing imperfections, it’s essential to sand the walls lightly. Sanding helps smooth out any rough patches and promotes better paint adhesion. Use fine-grit sandpaper, and wipe away any dust. Wipe with a moistened cloth before proceeding to the next step.
- Choose the Right Paint: Choosing the right paint type and finish is essential to get the desired results. Think about what the room is used for, how much people go through it, and how much moisture is in the space.
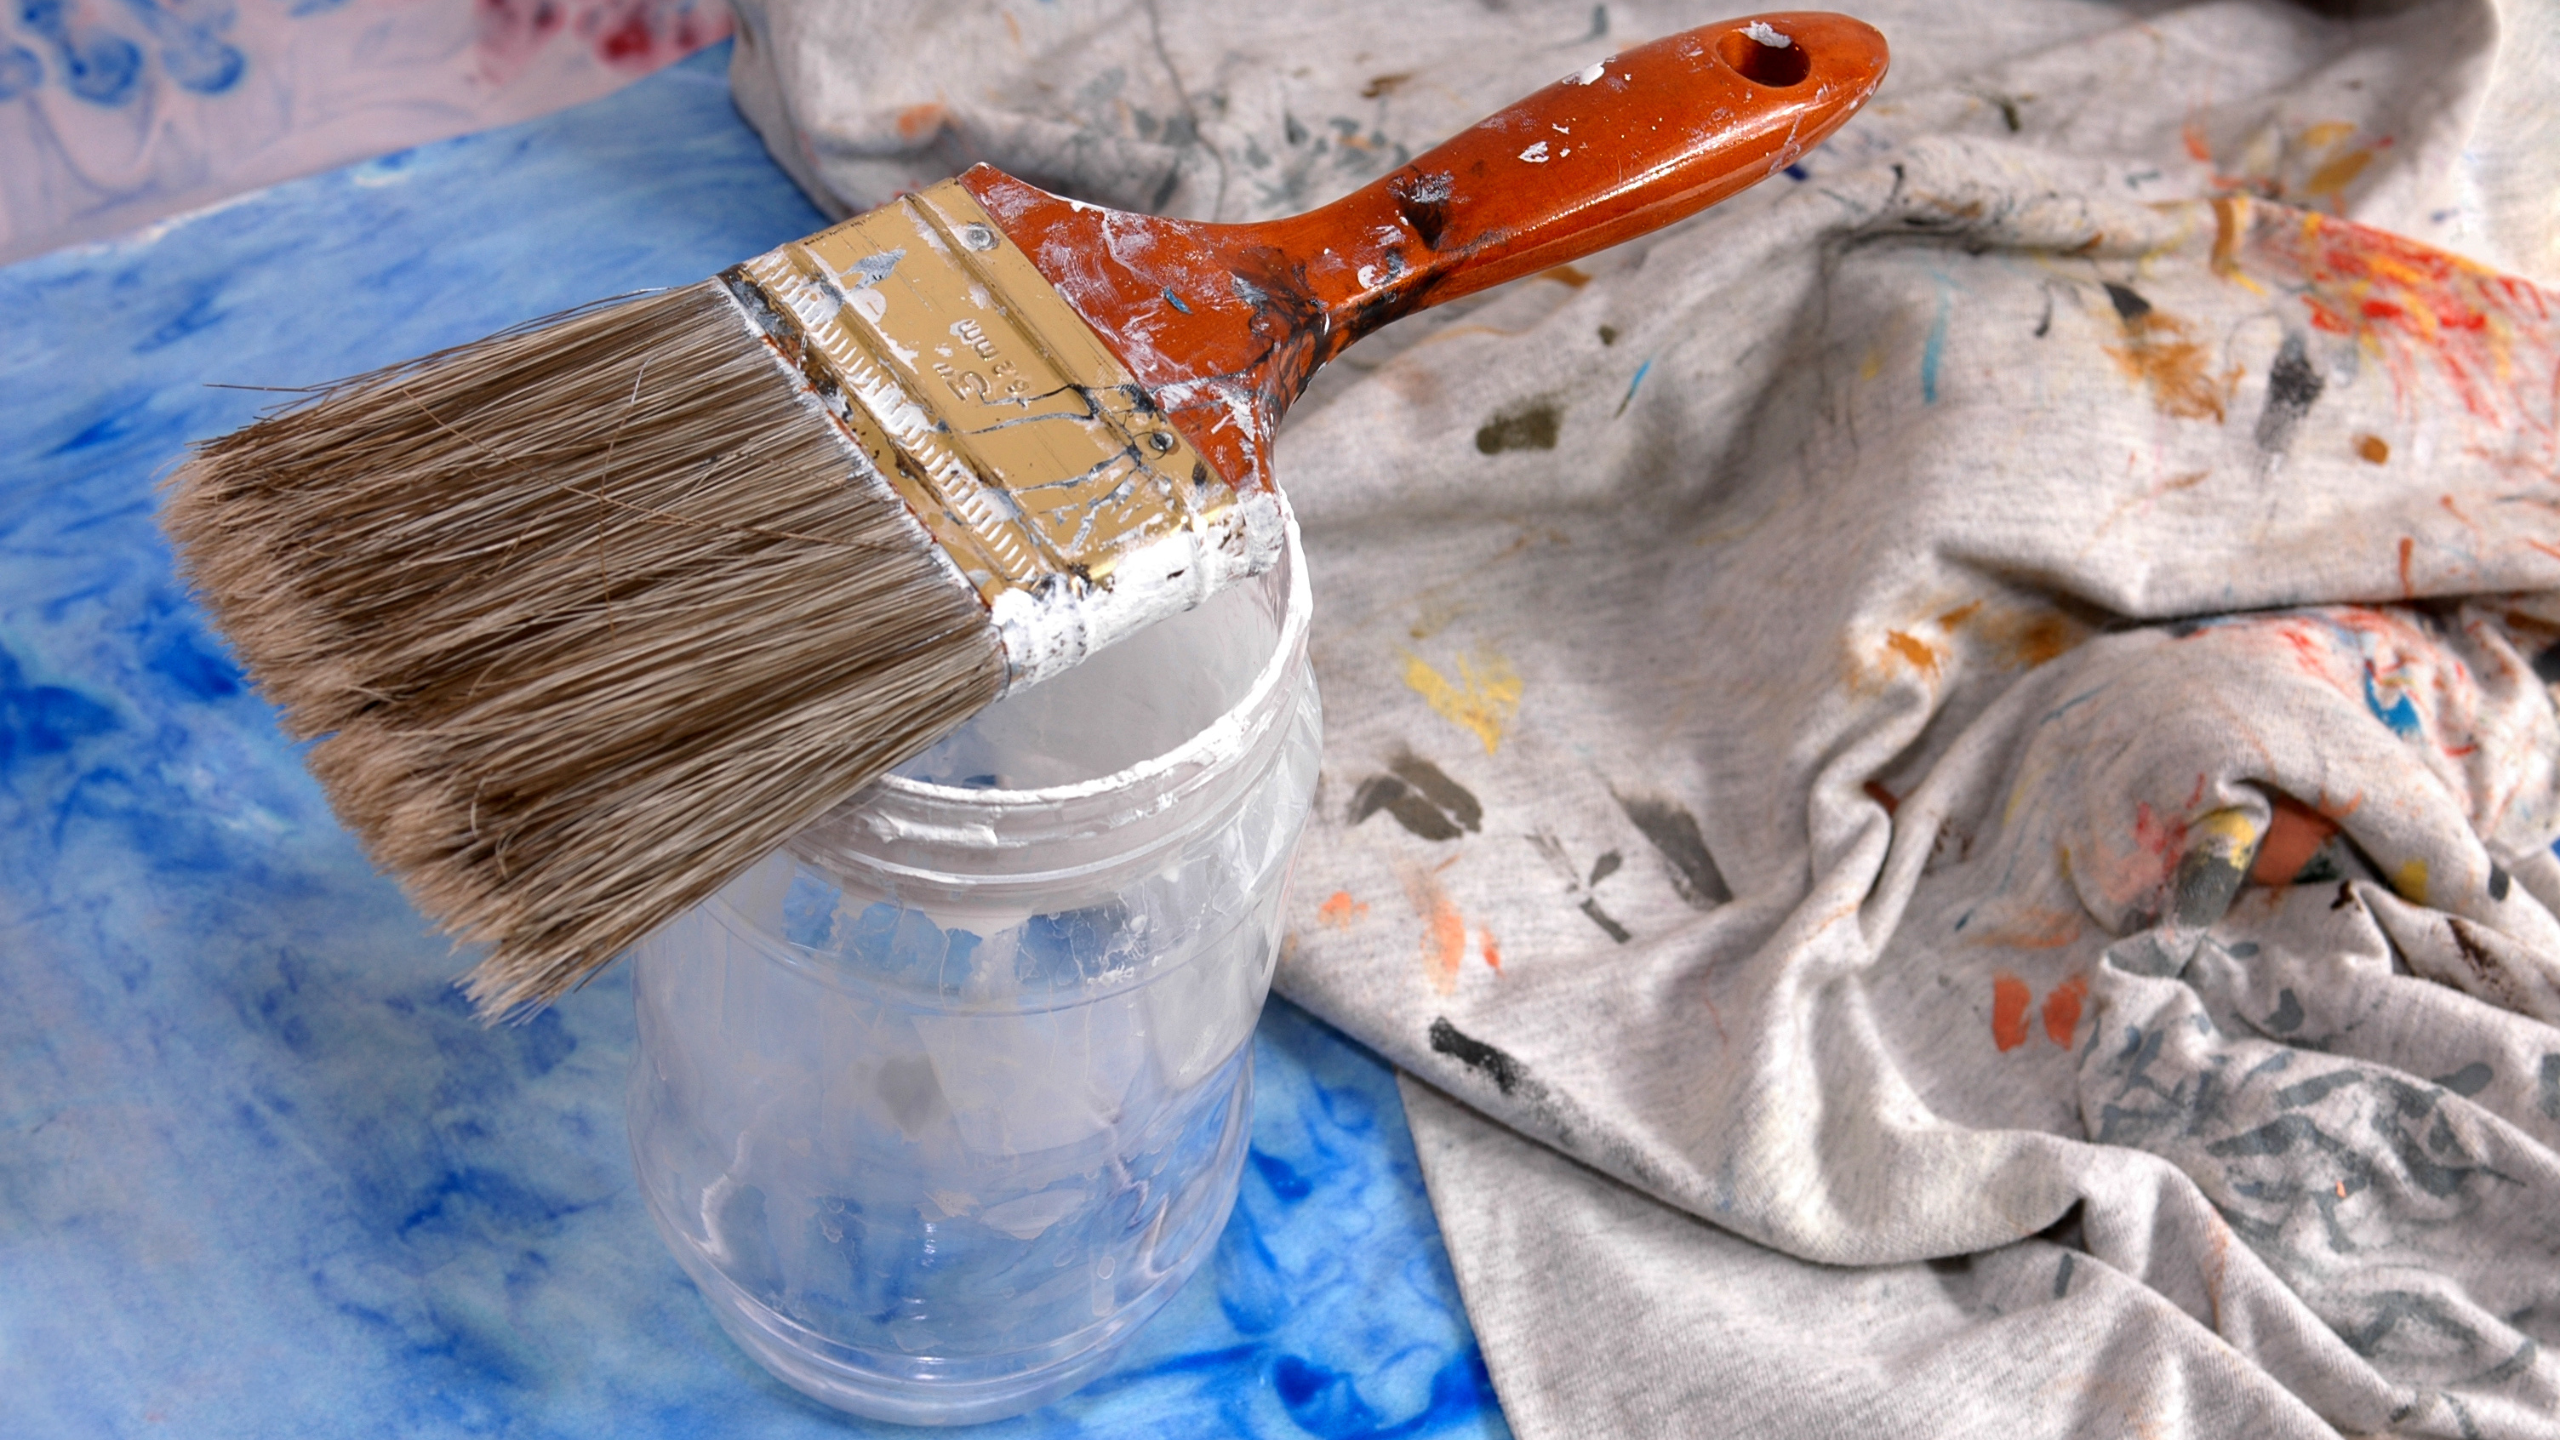
- Use High-Quality Brushes and Rollers: Invest in good-quality brushes and rollers for a smoother. Cheap brushes can leave streaks and bristle marks, affecting the overall appearance of your paint job. Quality tools also make the application process more efficient.
- Cutting In: Before using a roller, “cut in” the edges of the walls using a high-quality angled brush. This involves painting a straight line where the wall meets the ceiling, corners, and baseboards. Cutting in provides a clean and precise look, especially in areas where a roller might be challenging.
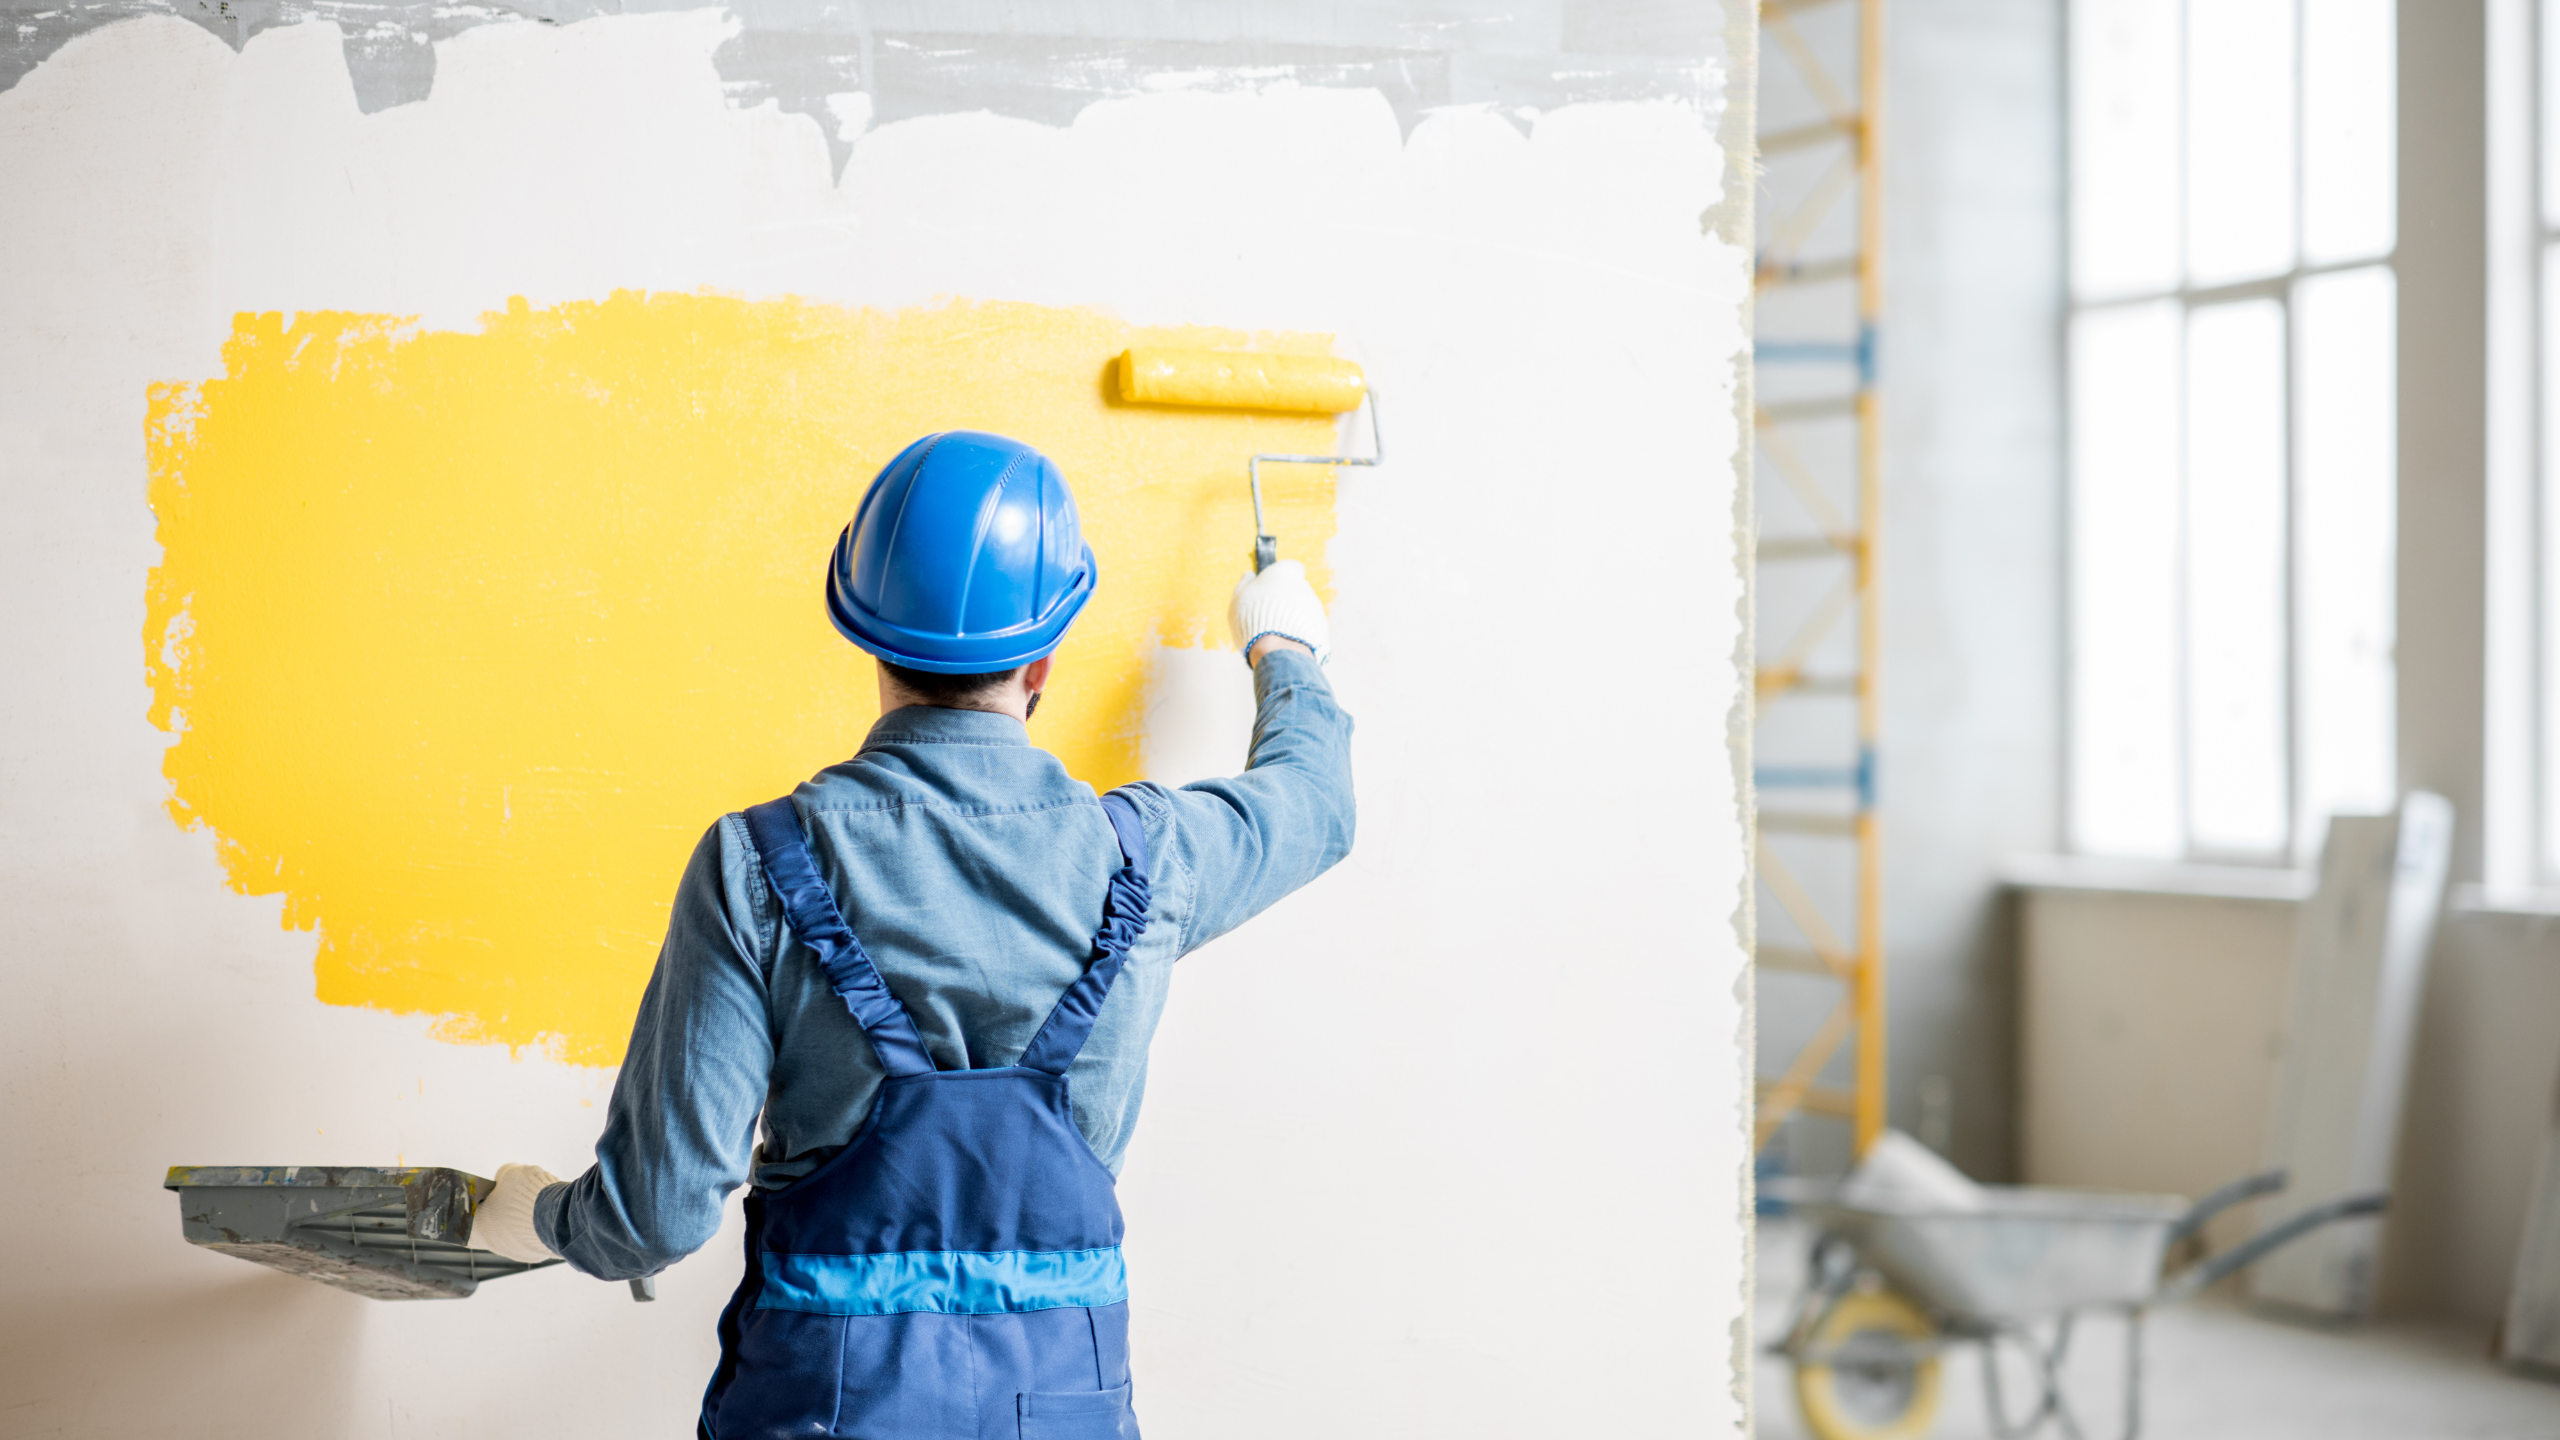
- Apply Paint in Sections: Work in sections rather than trying to paint the entire room at once. Doing it this way makes sure the paint stays wet, blends smoothly between teams, and doesn’t leave noticeable marks.
- Allow Proper Drying Time: Patience is key when it comes to painting. Ensure that each layer of paint is dehydrated before moving on to the next coat. Follow the recommended drying times on the paint can, and if possible, provide adequate ventilation to speed up the drying process.
- Inspect and Touch Up: Once the paint is completely dry, inspect the walls for imperfections, missed spots, or uneven areas. Touch up these areas as needed to achieve a flawless finish.
- Remove Painter’s Tape Carefully: If painter’s tape is used to protect edges, remove it gently after the paint is dry. Removing the tape at a 45-degree angle helps avoid any peeling or lifting of the new paint.
Follow these steps to make sure your painting project is well-prepared and done carefully. This will give your space a professional and long-lasting finish.
Benefits: Why Prepping Matters
- Enhanced Adhesion: Proper preparation, such as cleaning and priming, creates a surface that allows the paint to adhere better. This results in a more even and long-lasting finish.
- Smooth Surfaces: Prepping involves filling cracks, smoothing imperfections, and sanding surfaces. This ensures that your walls are smooth and bumps-free, providing a flawless canvas for your paint.
- Improved Durability: Prepping protects your walls from wear and tear, making the painted surface more durable. This is particularly important in high-traffic areas or rooms prone to moisture.
- Color Accuracy: Getting things ready ensures the paint color looks just like it should. A well-prepared surface provides the color to appear as intended, without any changes or distortions caused by underlying problems.
- Time and Cost Savings: While it may seem like an extra step, proper preparation can save time and money in the long run. A well-prepared surface requires fewer coats of paint, and the paint job lasts longer, reducing the need for frequent repainting.
- Professional Finish: Prepping your walls results in a professional-looking finish. It sets the stage for a smoother and more polished paint application, elevating the overall aesthetic of your space.
- Prevention of Issues: Getting things ready helps find and fix problems like mold, mildew, or water damage before painting. Fixing these issues early stops them from messing up your paint job later.
- Consistent Texture: Prepping ensures a consistent texture across the entire surface. This is vital to make sure the paint looks even, especially in big or well-lit spaces where differences might be noticeable.
In the world of painting, preparation is the first thing that can make or break your project. When you know what and how to prep before painting, you make it look good and last and cost less. So, before you start painting, remember that preparing your walls is the key to a great result.