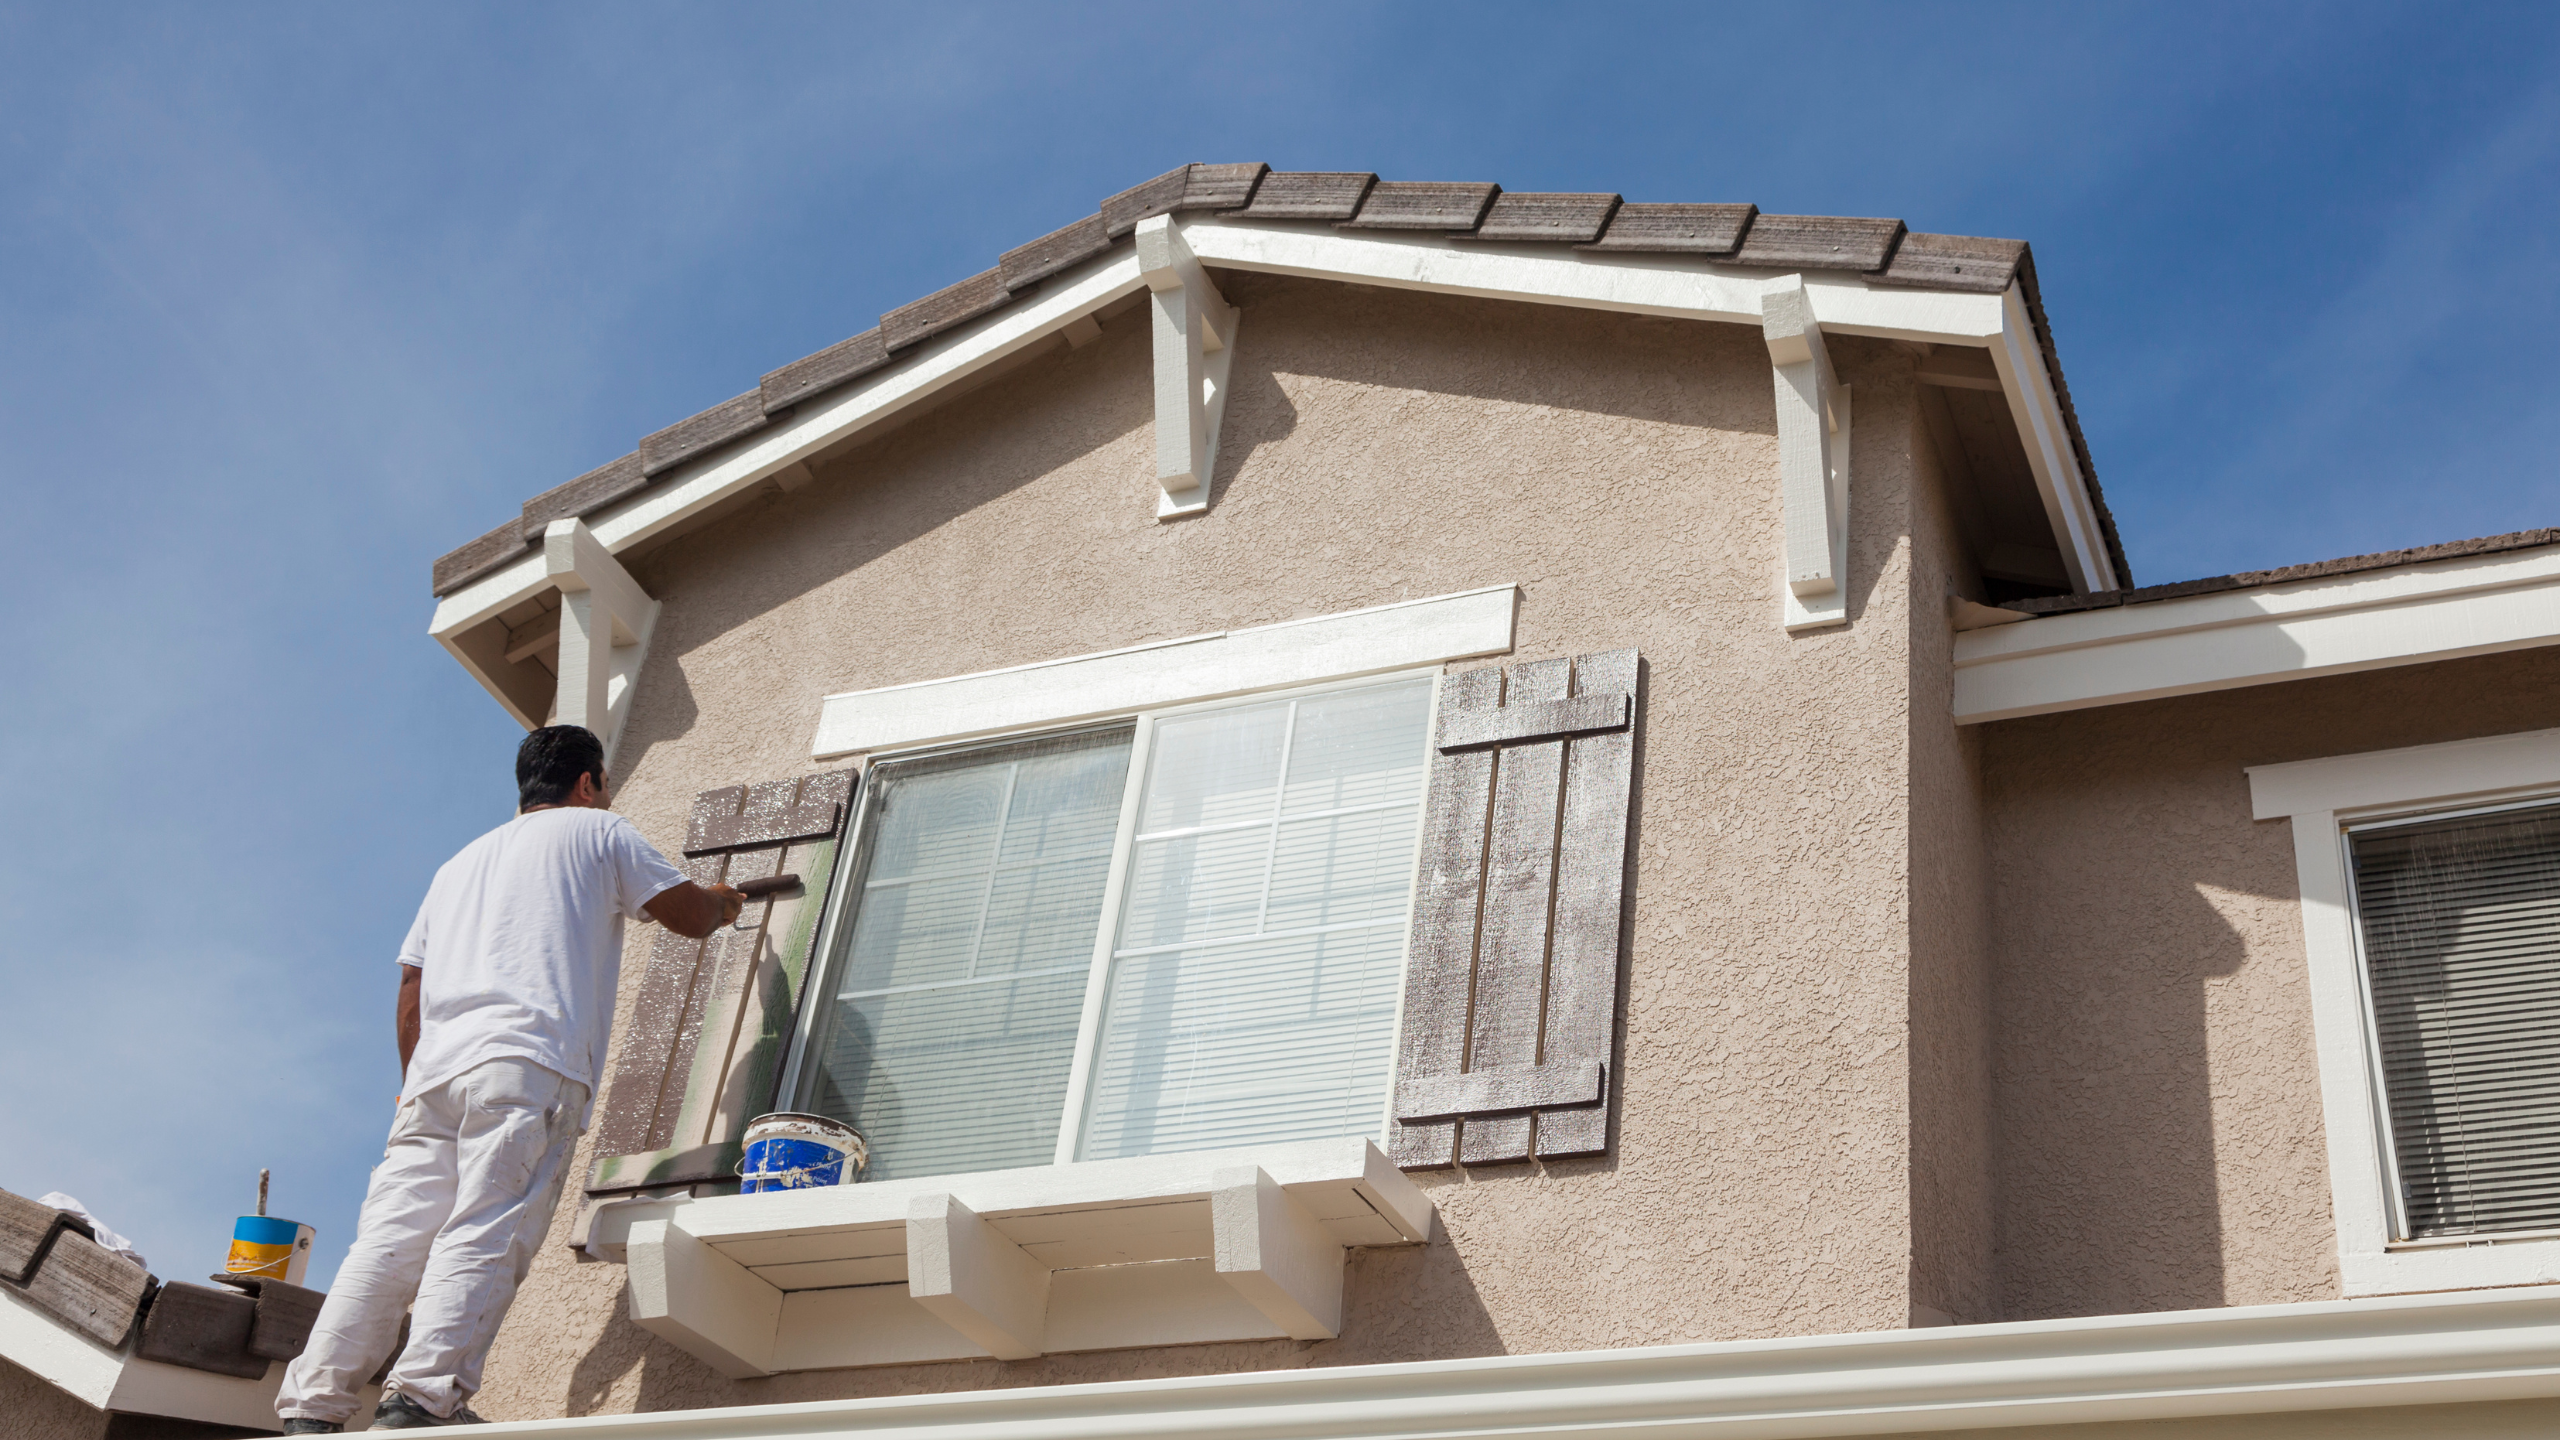

Getting a fresh, lively look for your living space by painting is exciting. But before using that colorful paint, people often forget an essential step – prepping surfaces. This step is like laying the groundwork for a successful, long-lasting paint job. It ensures your hard work creates a beautiful masterpiece that stays good for a long time.
The remainder of this blog article will cover why prepping surfaces is so important. We’ll explain the reasons behind it, illuminating the “why” that many people miss. And we’ll give you a simple 6-step guide with all the necessary information and tools. This guide will help you smooth your painting project and make your living spaces look great. Join us as we explore the basics of prepping surfaces, a crucial step to make your home look fresh and fantastic. When only the best will suffice in professional painting, CCT Apex North Carolina House Painting stands out as the preferred choice, serving the discerning residents of Apex, NC, and nearby counties.
Why Do I Need to Prep My Surfaces Before Painting?
- Ensuring Longevity: Getting surfaces ready isn’t just for looks; it’s about ensuring your paint job lasts a long time. When you prepare well, the paint sticks better, so it won’t start peeling or chipping too soon.
- Smooth Finish: Prepping is non-negotiable if you want that flawless, smooth finish that genuinely transforms a room. Before painting, smooth out imperfections, such as dents, cracks, or bumps, to ensure that your walls are ready to showcase the beauty of the chosen color.
- Enhanced Adhesion: Well-prepped surfaces provide a better canvas for paint adhesion. This means your paint will stick better, producing a more even and professional-looking finish.
- Preventing Stains and Bleed-Through: Unprepped surfaces may allow stains and existing colors to bleed through your new paint job. Prepping helps create a barrier, ensuring your fresh coat remains true to its intended color.
- Economic Benefits: While it may seem like an extra step, prepping surfaces can save you money in the long run. A well-prepped surface requires less paint, as it is absorbed more efficiently, and the color lasts longer without needing touch-ups or repainting.
- Health Considerations: Some surfaces may have contaminants or residues that can be harmful when covered with paint. Prepping ensures these issues are addressed, promoting a healthier living environment.
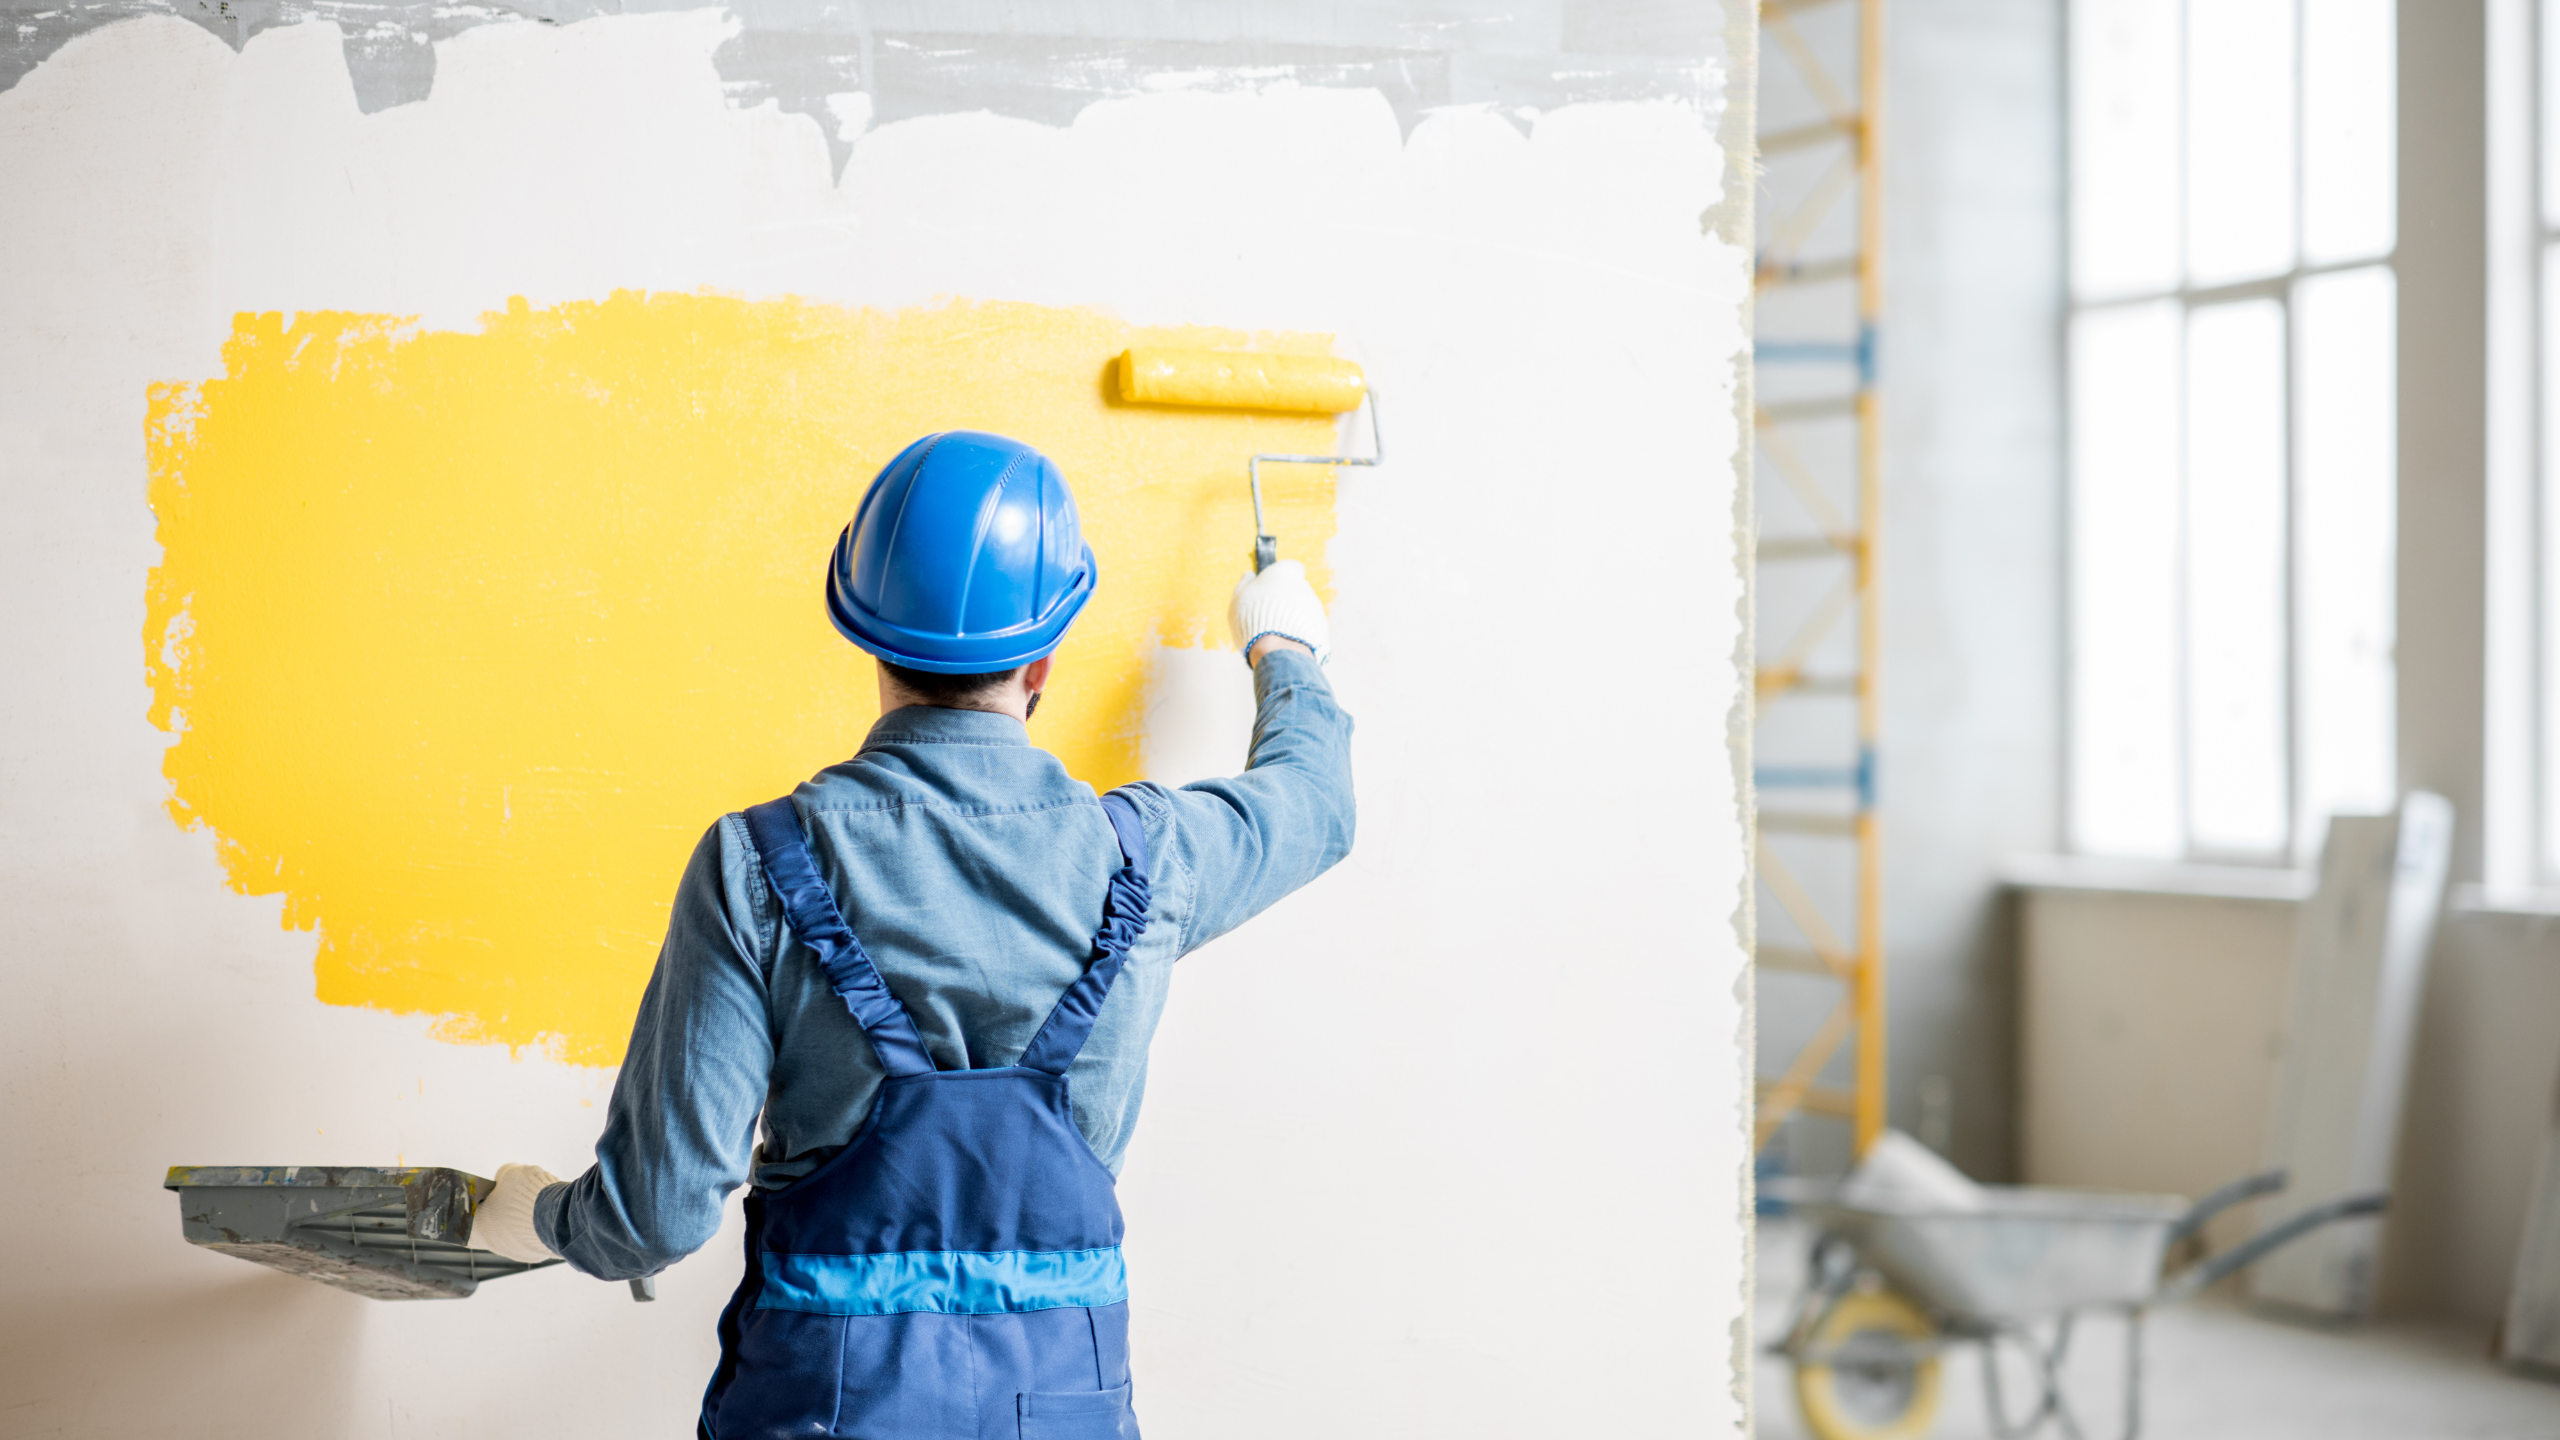
A Step-by-Step Guide to Prepping a Surface For Painting:
Step 1: Clear the Area Start by removing furniture, covering floors with drop cloths, and taping off areas you don’t want to paint.
Step 2: Clean the Surface Use a mixture of water and mild detergent to clean dirt, grease, and grime from the surface. For stubborn stains, consider using a specialized cleaner.
Step 3: Repair Imperfections Patch up any holes, cracks, or dents using a suitable filler. Sand the patched areas for a smooth finish.
Step 4: Sand the Surface Sanding helps create a textured surface that promotes better paint adhesion. Use fine-grit sandpaper for smoother surfaces and coarser grit for rougher surfaces.
Step 5: Priming the Surface Apply a primer to create a uniform surface and enhance paint adhesion. This step is crucial, especially for porous or stained surfaces.
Step 6: Mask and Protect Finally, mask off areas that shouldn’t be painted and protect surfaces not meant for painting with painter’s tape and drop cloths.
Importance of Proper Cleaning and Priming:
Cleaning and priming are integral parts of the prepping process.
Proper Cleaning: Thoroughly cleaning the surface removes contaminants that might interfere with paint adhesion. Grease, dust, and dirt can create a barrier, preventing the paint from bonding effectively. A clean surface sets the stage for a flawless paint job.
Priming: Priming is like creating a foundation for your paint. It not only enhances adhesion but also helps in achieving a consistent finish. Different surfaces may require specific primers, so choose one that suits your project. Priming also prevents the underlying character from absorbing too much paint, producing better coverage and color vibrancy.
Conclusion
In painting, it’s not just about picking the right color; it’s also about getting the surface ready. Prepping surfaces is like the behind-the-scenes hero in the image. It helps ensure your painting lasts a long time and looks good. Follow the steps and remember to clean and prime properly. When you paint, you’re not just coloring walls; you’re making something that will stick around. So, next time you paint, remember that preparing the surface is the key to a fantastic finish. Enjoy your painting!