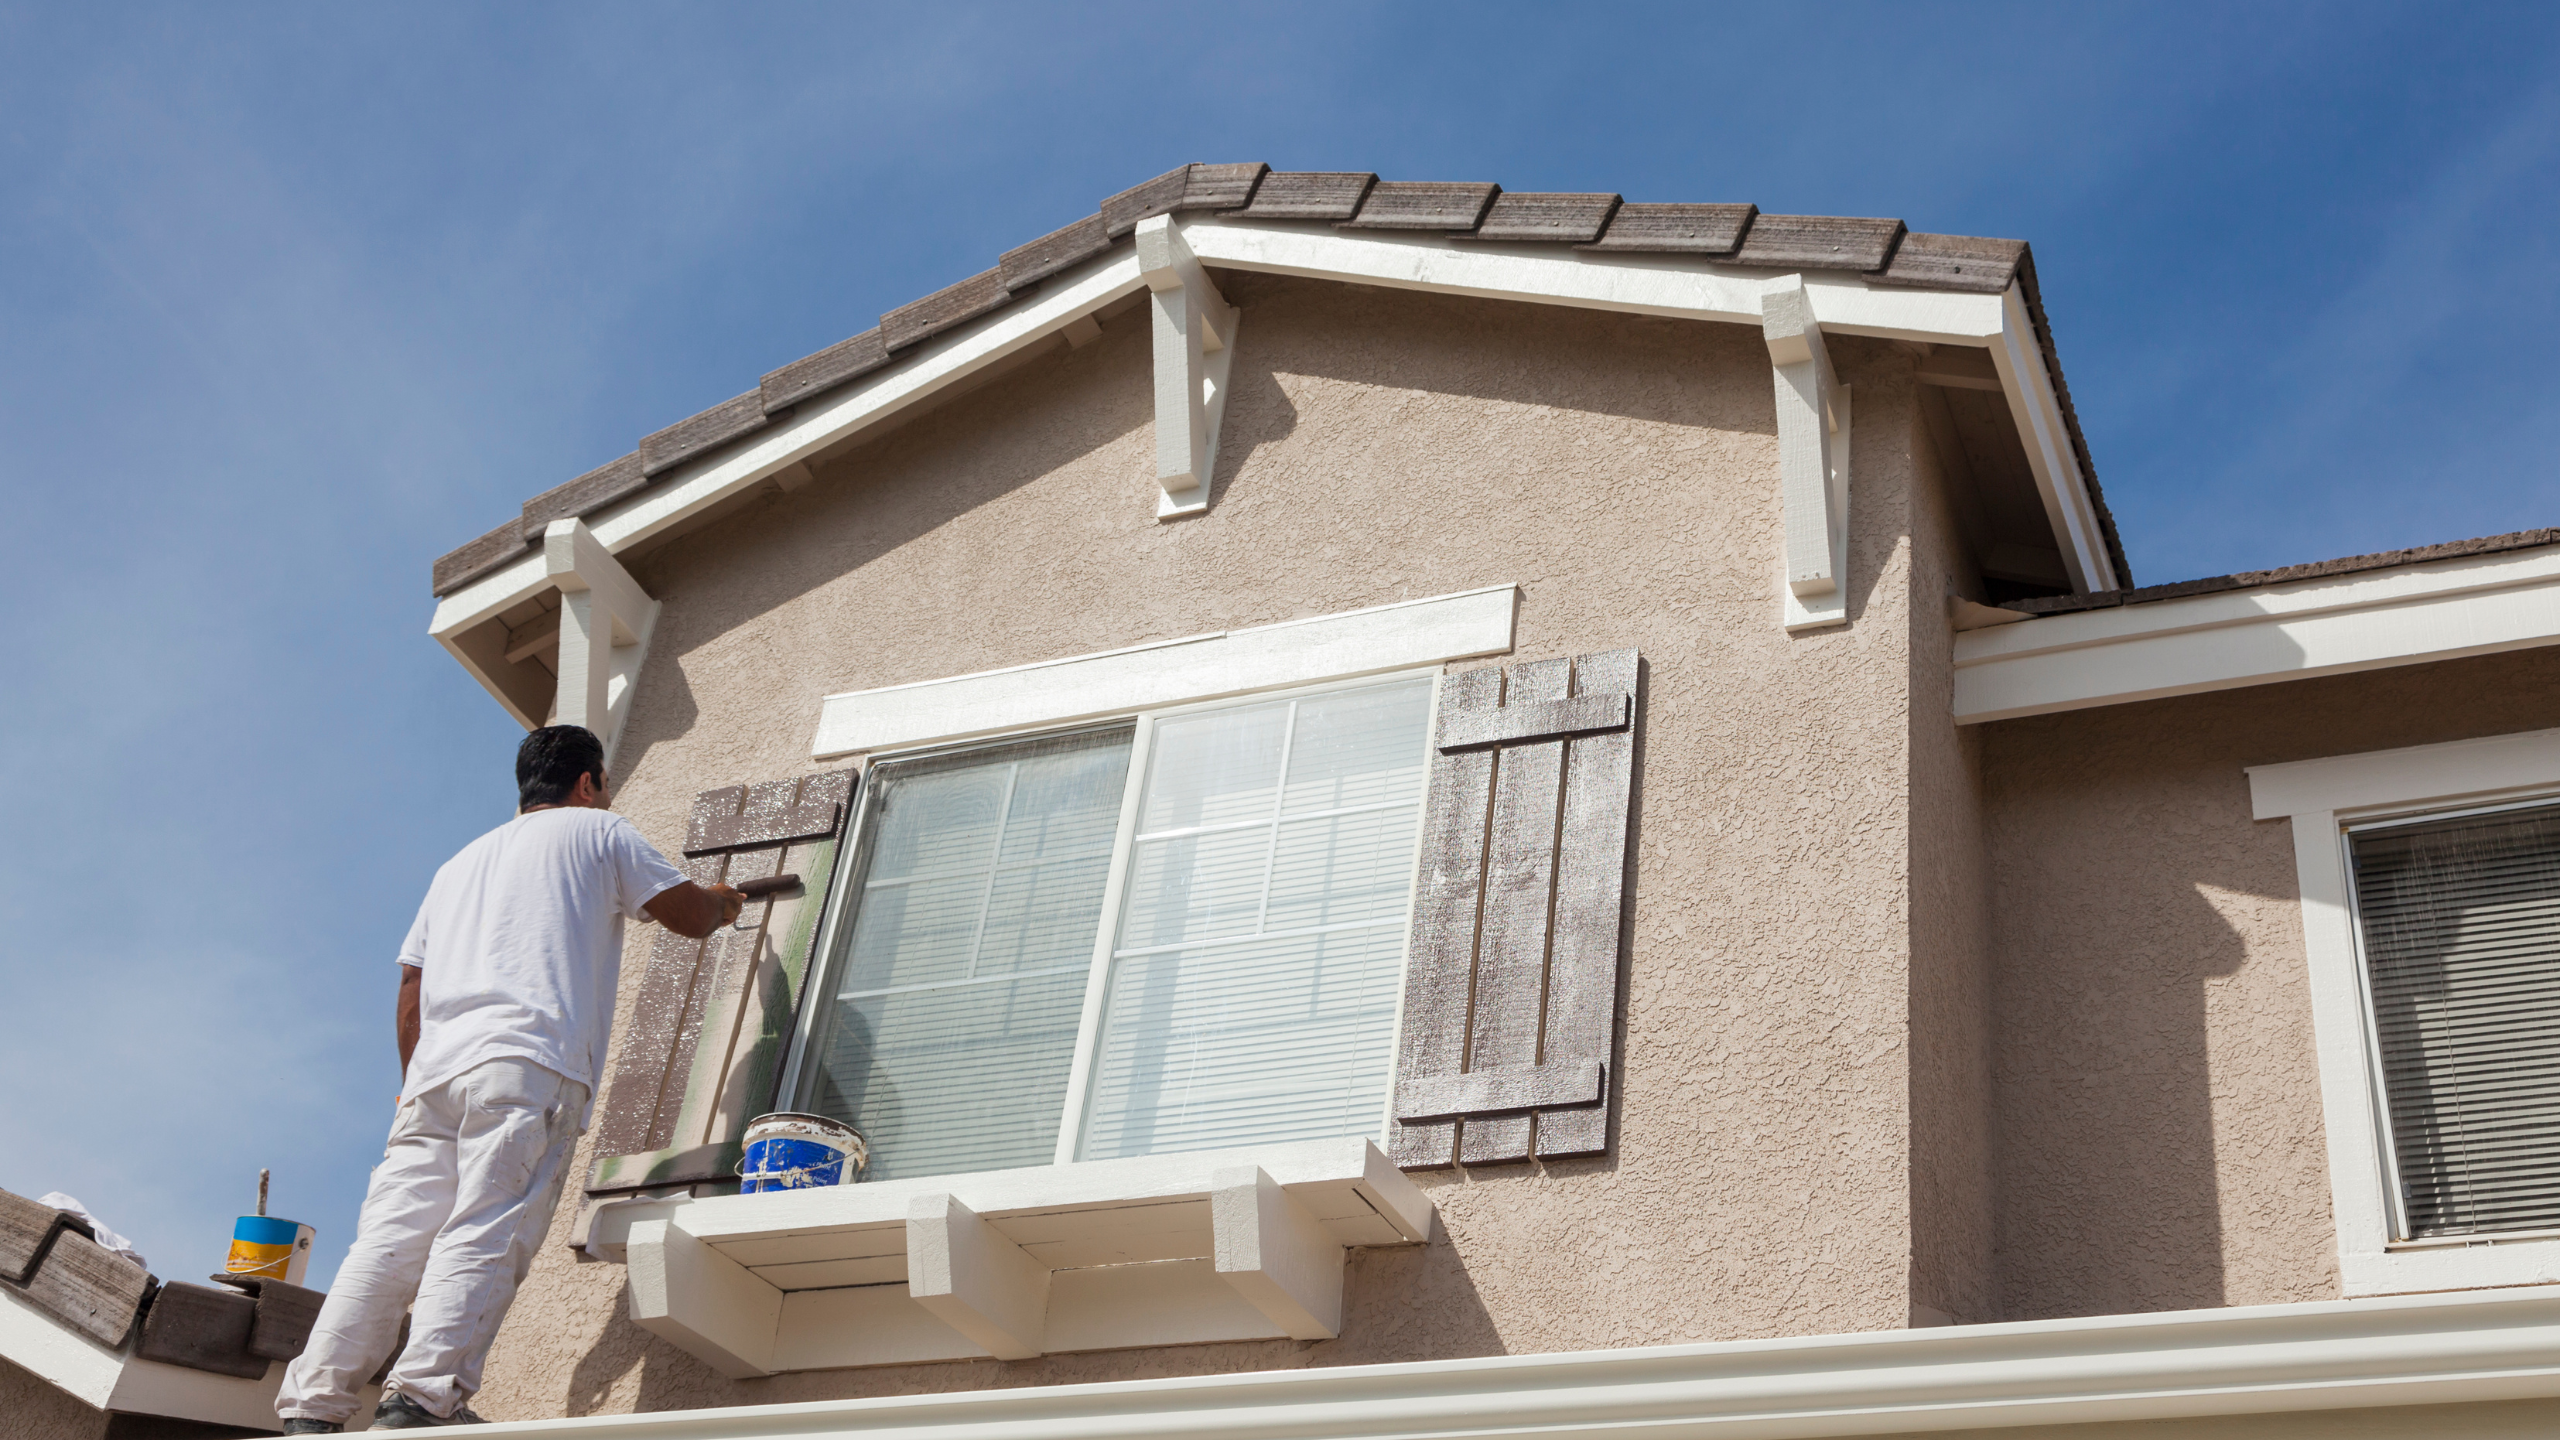
When we think of interior painting, it’s normal to believe that the project should be finished in the spring or summer. But did you know there are benefits to painting interiors in the winter? Since there is less humidity during the winter, the paint dries much more quickly and effectively. Winter is the ideal season to paint the outside or interior of your home.
Waiting till the hot, humid months is not advisable. Follow these 5 easy interior house painting tips for the winter to give your home a fresh coat of paint right immediately.
1. Organizing
When preparing an interior paint job, it’s crucial to give your space and materials the care they require. Protecting your surfaces and equipment will help you prevent costly mistakes. Here are some suggestions for preparing for a painting project:
Before painting your home, make sure surfaces are clean of dust and clutter. Although we know you’re eager to start painting, removing these flecks with a rag or tack cloth will keep the surface smooth and the protective coatings in place.
Spend some time using these products to protect your surfaces once you’ve cleaned them:
- Drop cloths to protect furniture and floors
- Surface protection boards work well for hard surfaces like floors and counters.
- Masking paper and film are quite useful for baseboards, windows, doors, and cupboards.
- Use painter’s tape for trim, baseboards, electrical outlets, and any other tiny, delicate place.
To maintain a constant paint color for the duration of your interior painting process, we suggest mixing a number of paint cans in a substantial 5-gallon bucket. If you utilize a roller tray for a 5 gallon bucket, your waste and mess will be kept to an absolute minimum.
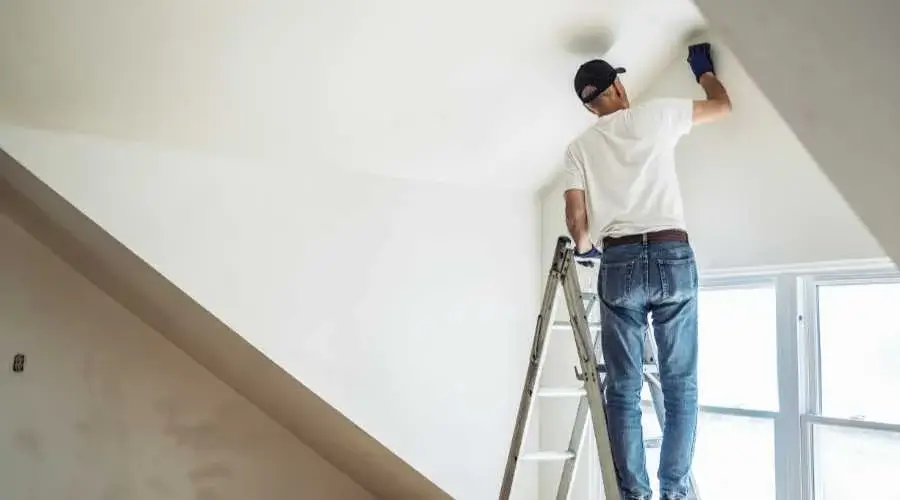
2. Ceilings, Wall, and Trim
When painting a big area, it’s normal to feel overwhelmed and unsure of where to start. Because you’re almost certain to drop, spill, or splatter paint, it’s essential to paint the room in the appropriate order. Generally speaking, we suggest painting the walls, ceiling, and trim in that order.
If you plan to paint the floors, save it until last.
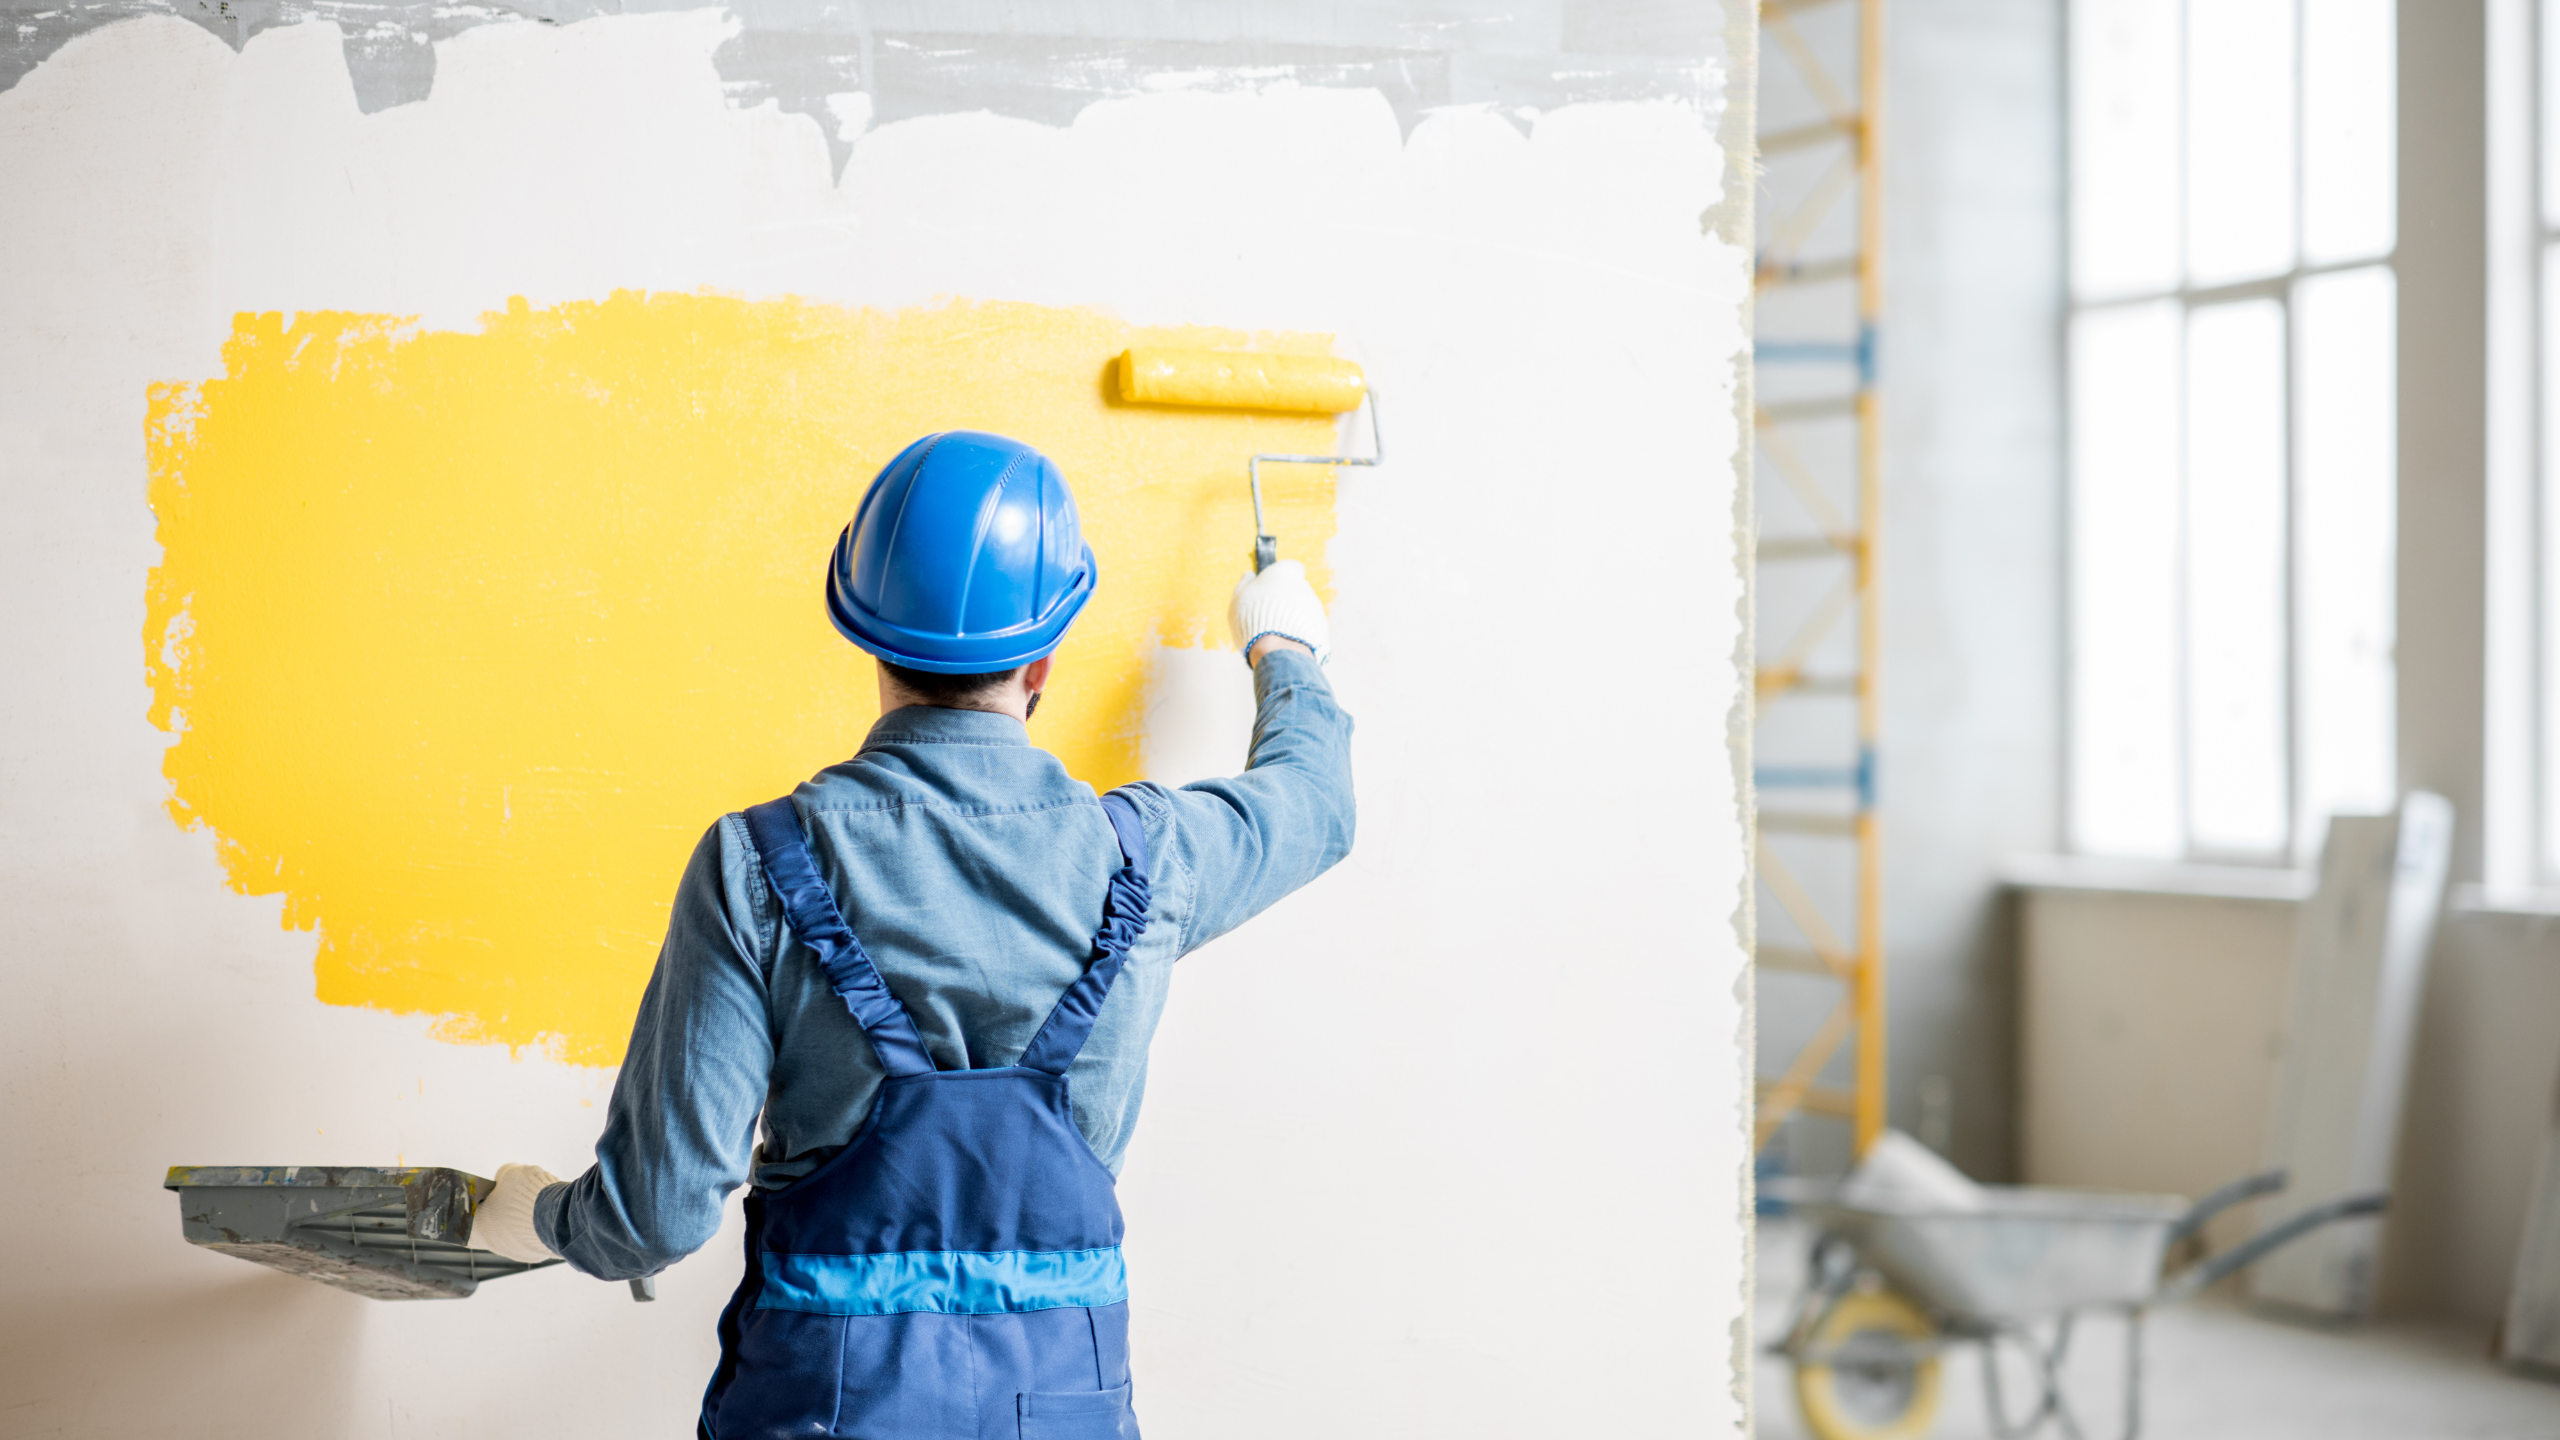
3. Even Paint
For large areas and walls, we suggest using a roller. Additionally, painting will go much more quickly if you use an extension pole. Create an even, flat surface, and make sure to.
- Put enough paint on the roller to completely cover it before you start.
- To avoid drips, remove any remaining paint.
- Using a roller, cover the entire surface with paint in the same pattern. The most frequent pattern is either the “W” or “M” pattern. Without lifting the roller, fill in the parts that aren’t painted.
- Once you’ve completed painting the area, gently pick up the roller to avoid leaving a mark. *These steps should be followed while applying primers and interior paints. Reload your roller with paint, move to another unpainted location, and repeat the operation there.
4. Let the Paint Dry
Once the initial layer of paint has dried, it may be tempting to start painting the room again. Don’t! Make certain that your coat is completely dry before adding any additional coats. By opening the windows to let air in, you can hasten the drying process. The speed at which drying periods will be accelerated by winter air will astound you.
But not all paints are created equal, and depending on the kind of paint, drying times change. The walls should have at least 24 hours to cure before you reapply oil-based paint. When using latex-based paint, however, you can begin your second layer after 4-6 hours.
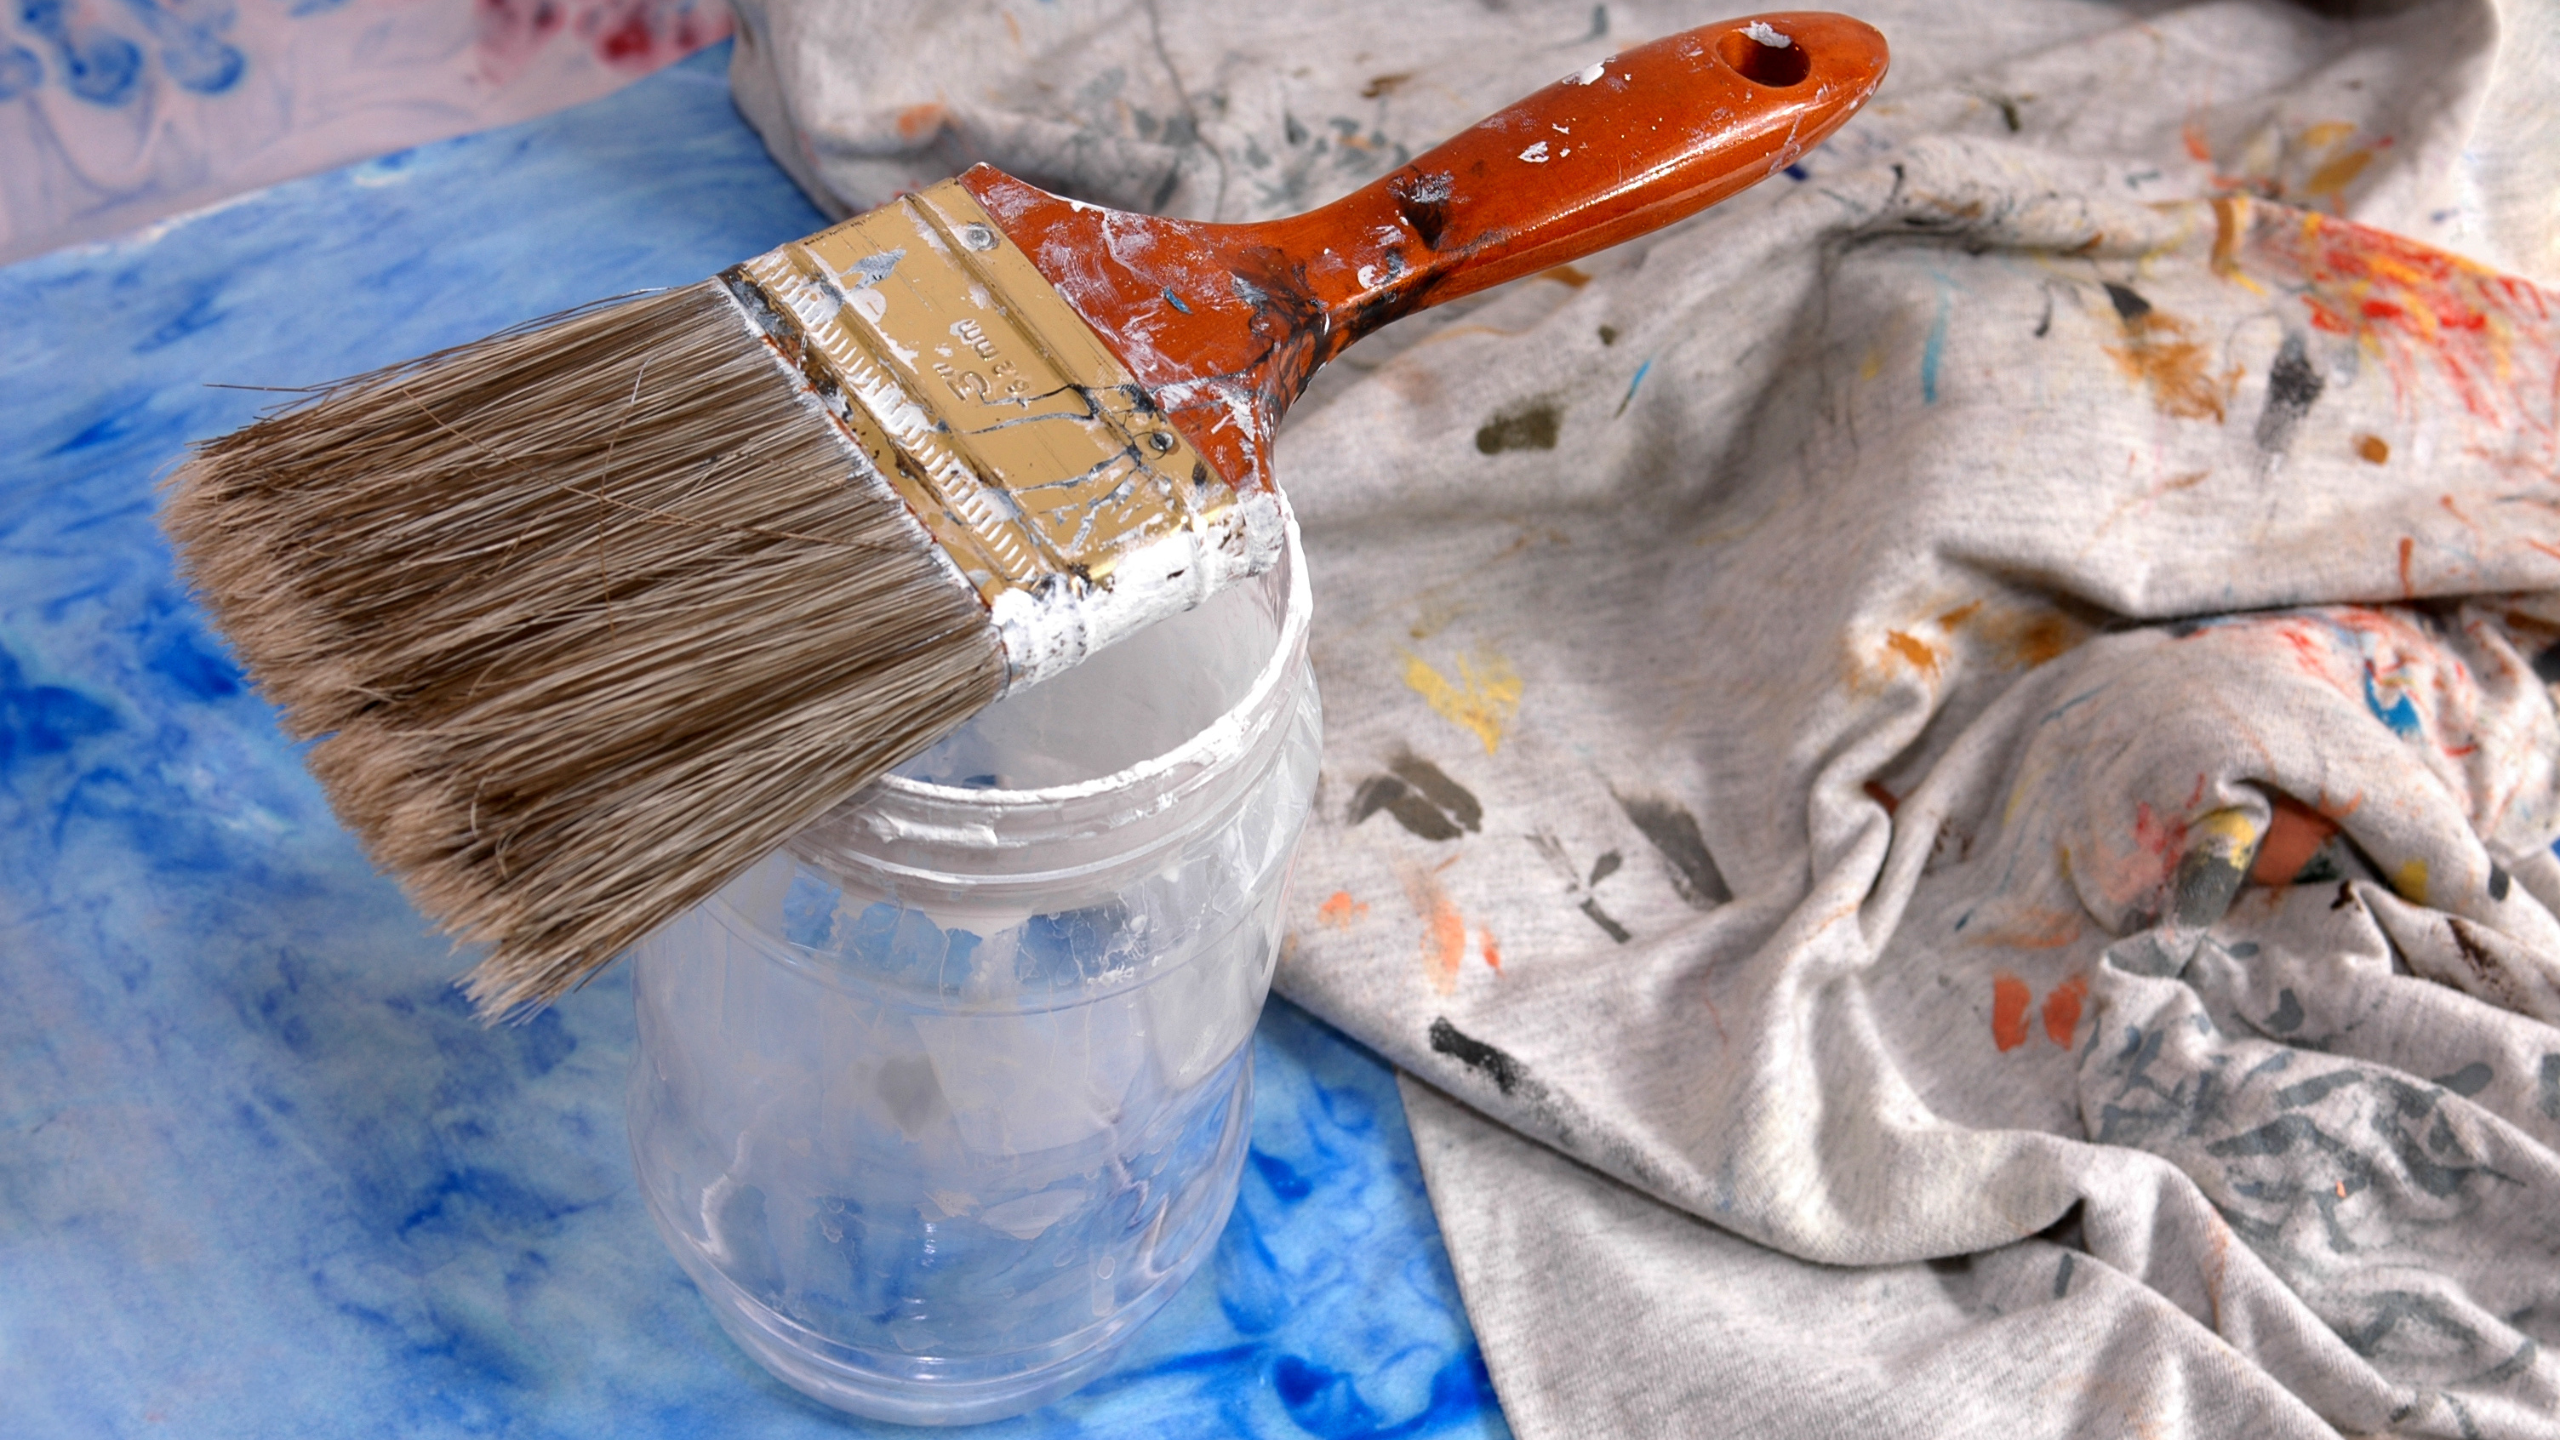
5. Clean Up Properly
The least pleasurable element of a job is sometimes cleanup. But one of the most important steps in the painting process is the removal of paint washout and the proper disposal of it. Latex paint-containing brushes are simple to clean with detergent and warm water. To dispose of washout, use a location that has received official approval and won’t contaminate the groundwater. Spend your money on an environmentally friendly paint removal product instead.
Oil paintings call for a little more expertise. To remove paint, wash it out with a solvent or paint thinner. Place the paint washout in a new spot that has been given the green light. Inappropriate disposal can contaminate groundwater and destroy the ecology.
Keep your extra paint in a safe place for touch-ups later on, and that’s all. Winter months might be the finest time to paint a room.
We Can Help You!
Looking for additional painting advice? CCT Apex House Painters insures you! Learn about five things to avoid doing while working on your project, as well as some painting shortcuts and helpful exterior painting recommendations.